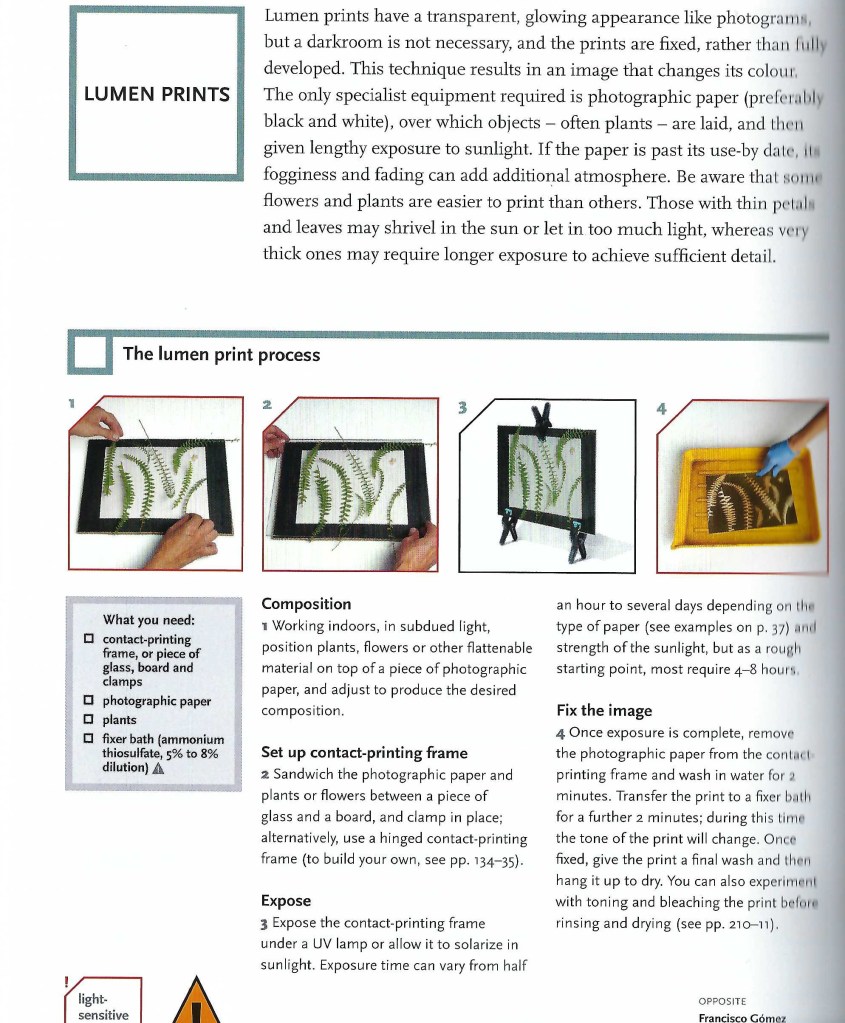
Summary:
In this post I
– Included the brief for this exercise
– Listed my initial plans, concepts and why
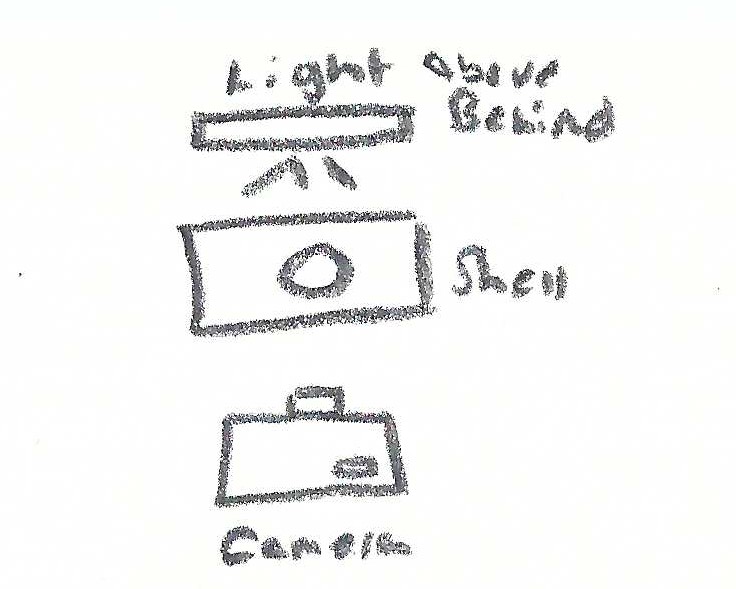
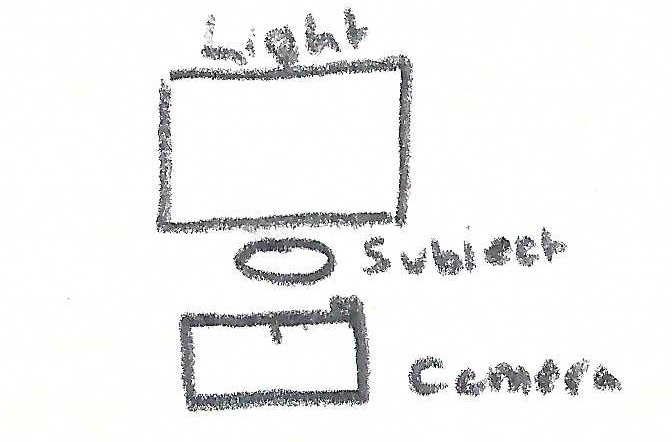
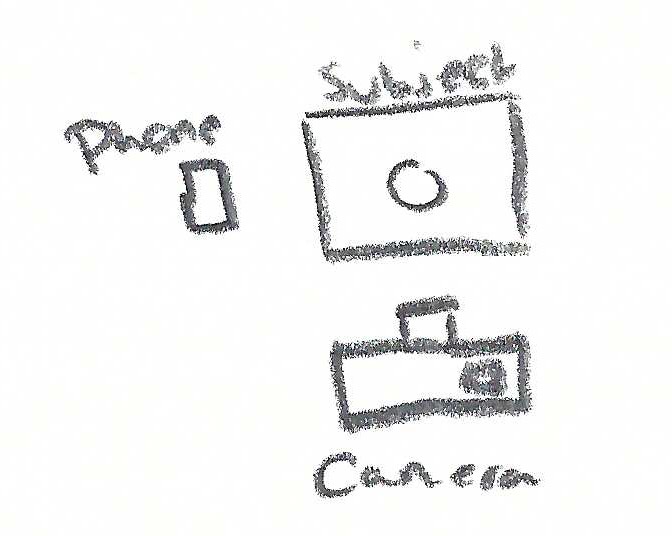
– Shared my camera settings and technical information
– Before providing the contact sheets for my shoot
– Inserted 6 of my favourite shots from the set and explained why through analysis
– Chose my ‘select’, analysed the image
– Before discussing why I chose it as the strongest image, the unintentional and conceptual elements discovered
Brief:
Use your camera as a measuring device. This doesn’t refer to the distance scale on the focus ring. Rather, find a subject that you have an empathy with and take a sequence of shots to ‘explore the distance between you’. Add the sequence to your learning log, indicating which is your ‘select’ – your best shot. When you review the set to decide upon a ‘select’, don’t evaluate the shots just according to the idea you had when you took the photographs; instead evaluate it by what you discover within the frame (you’ve already done this in Exercise 1.4). In other words, be open to the unexpected. In conversation with the author, the photographer Alexia Clorinda expressed this idea in the following way. Look critically at the work you did by including what you didn’t mean to do. Include the mistake, or your unconscious, or whatever you want to call it, and analyse it not from the point of view of your intention, but because it is there. (Bloomfield, 2018)
Initial plans
I didn’t want to give too much thought about what to take images of to give myself a challenge; instead, I read the brief and decided to pick the first subject that came to mind in terms of empathy. As a result, the deforestation and increase of littering within my local woodland popped up first.
Growing up next to woodland is something to be grateful for as nature is right on your doorstep and isn’t something everyone has the privilege of having. Unfortunately, I’ve watched this beautiful area be the victim of mass deforestation and urbanisation to allow room for more homes. Building on land to cover the rise in population isn’t so much the problem, but the littering, lack of care taken after trees and foliage removable are.
It’s not satisfying to go on a nature walk, to find metal barriers up that are yet to move, piles of logs and leftover branches scattered around the place with signs and ripped tape on the floor. Seeing all the changes happen and watching it decline since childhood makes me feel empathetic toward the animals that live within those woods, the insects, trees and the pedestrians who want to observe this place.
I used my SONY A57, set my aperture to F/2.8, the focus and camera settings to manual before heading out on a walk around the woods. Not knowing what I was going to find made this exercise more challenging as I wasn’t sure whether there would be enough around to gather a substantial amount of images to choose from, although, wasn’t the case as seen below in my contact sheets.
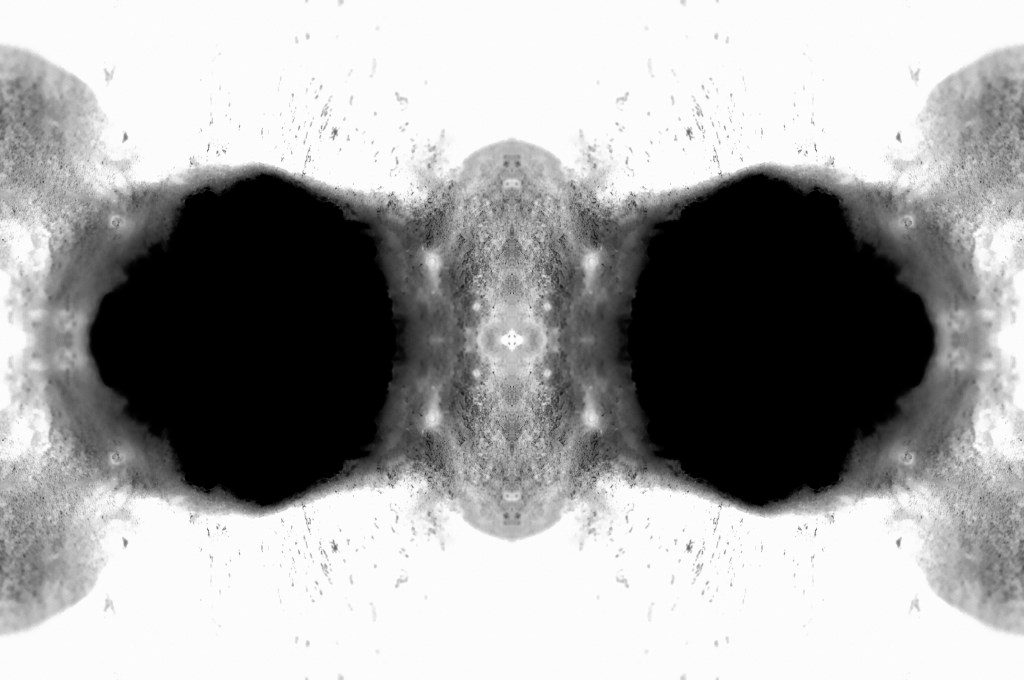
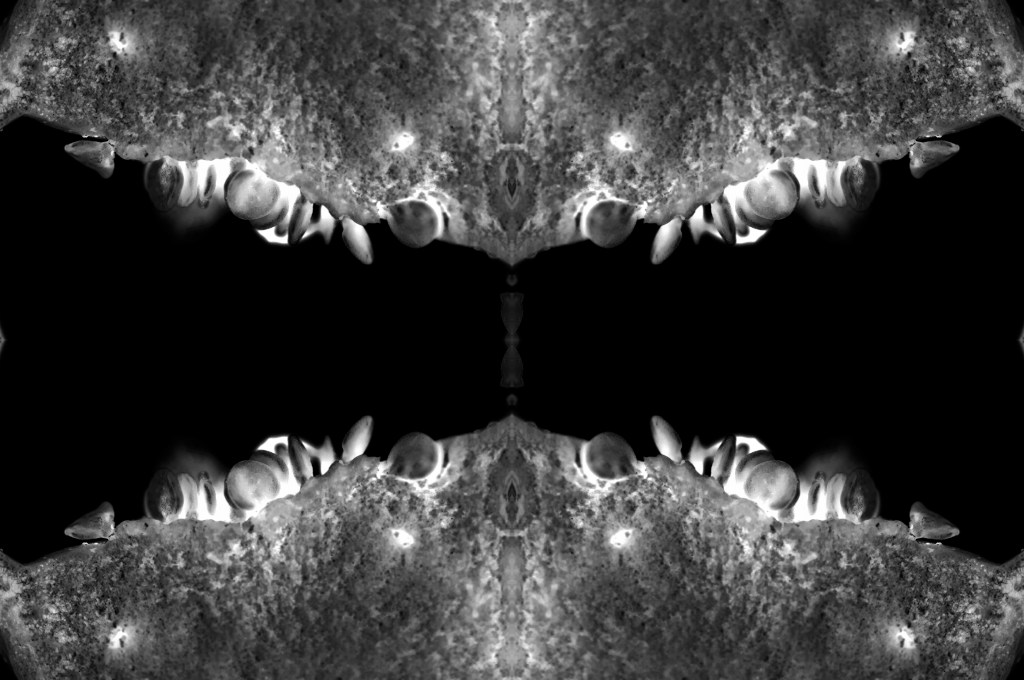
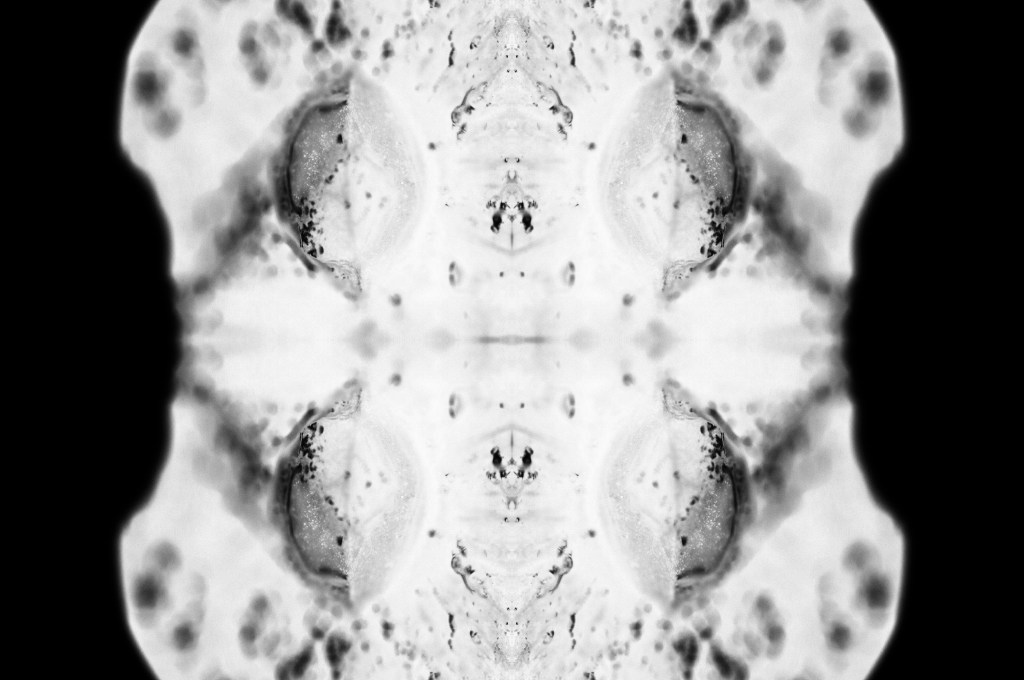
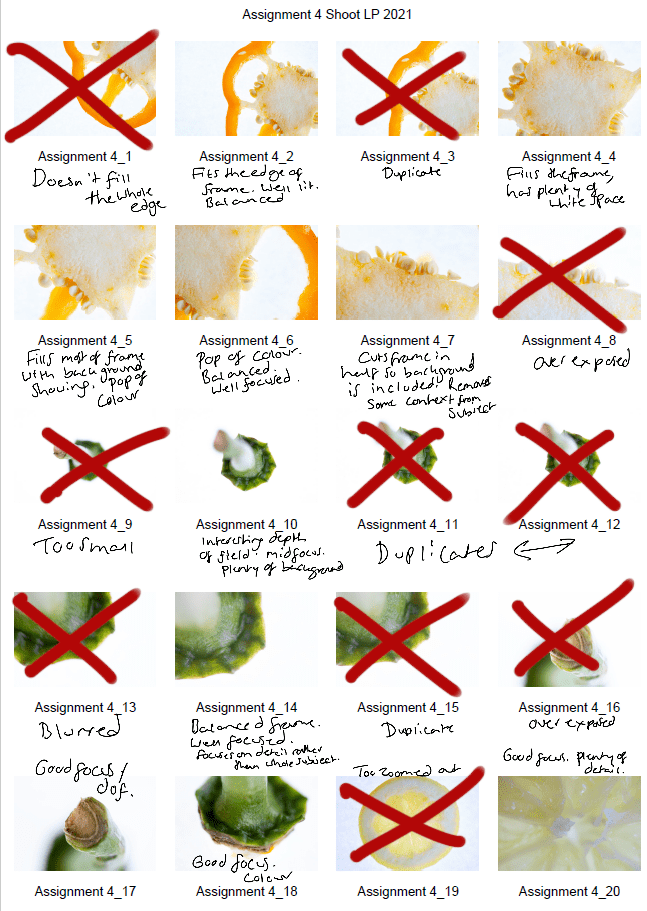
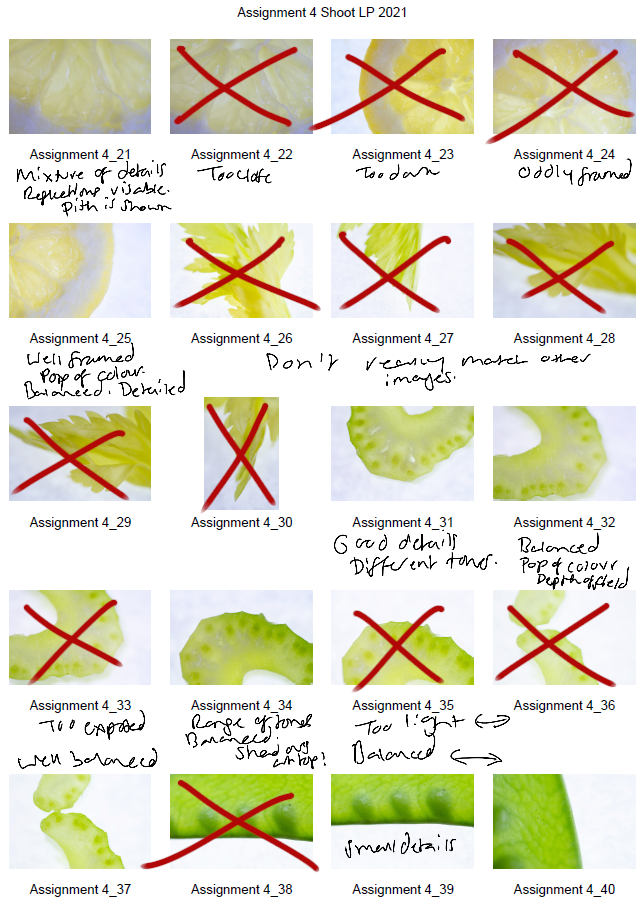
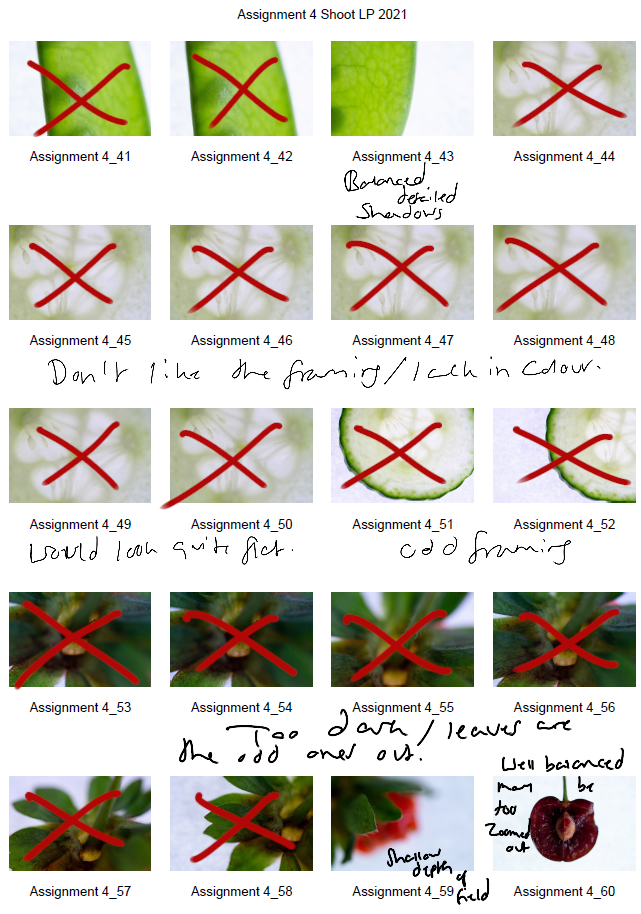
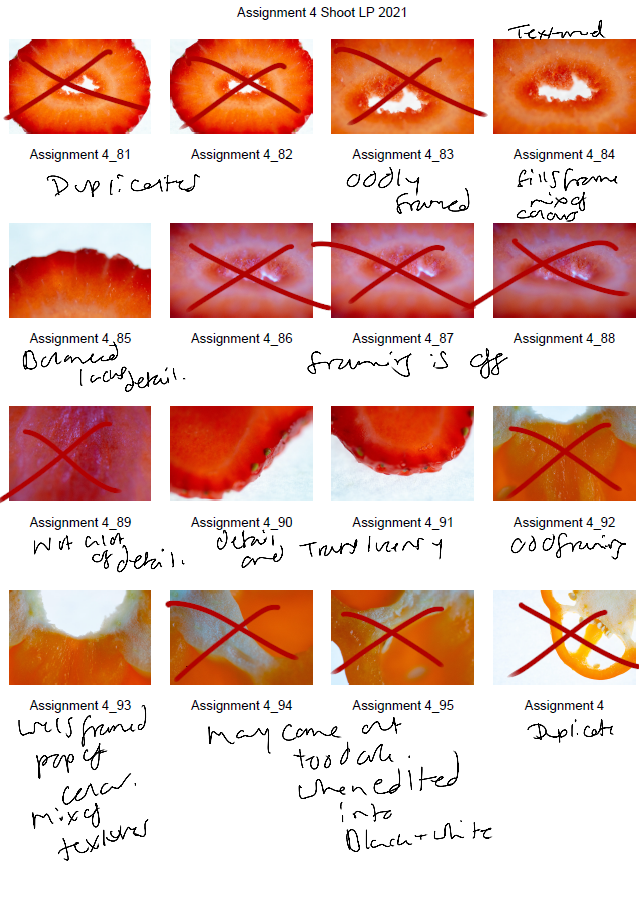
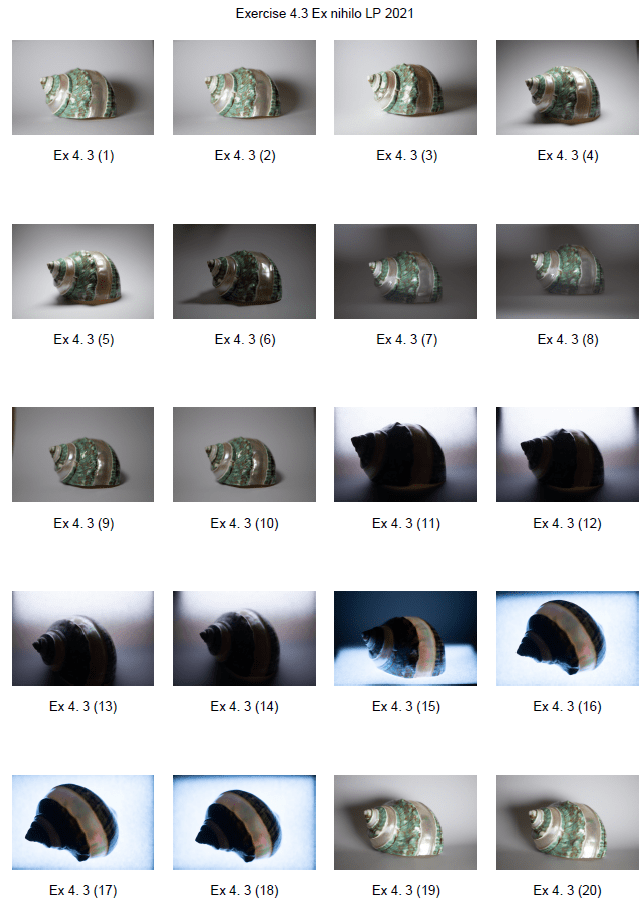
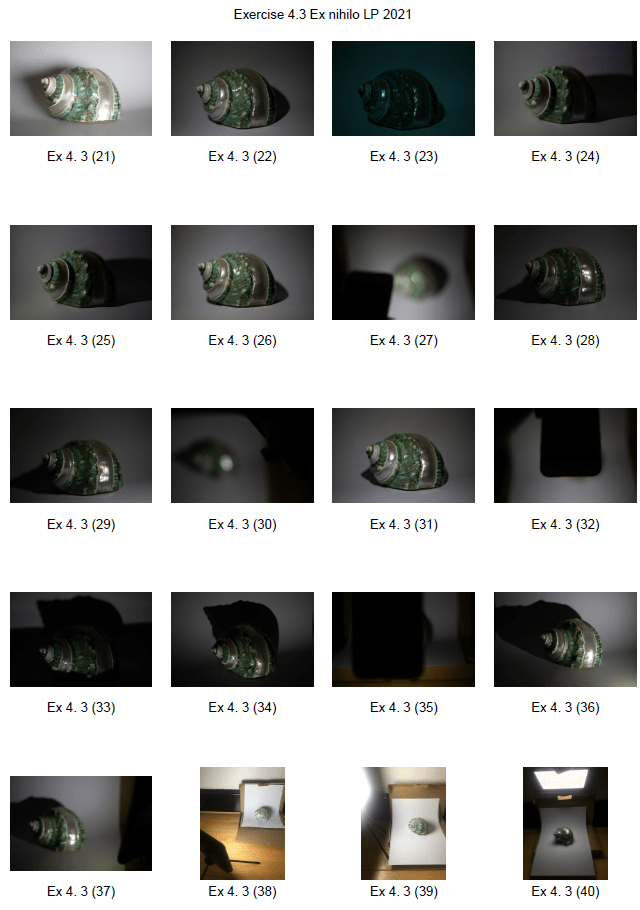
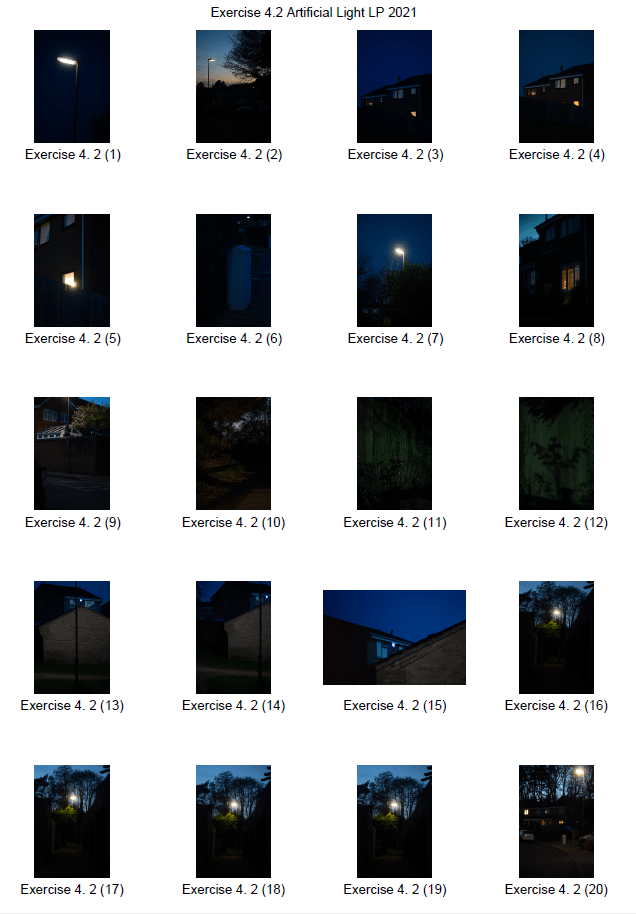
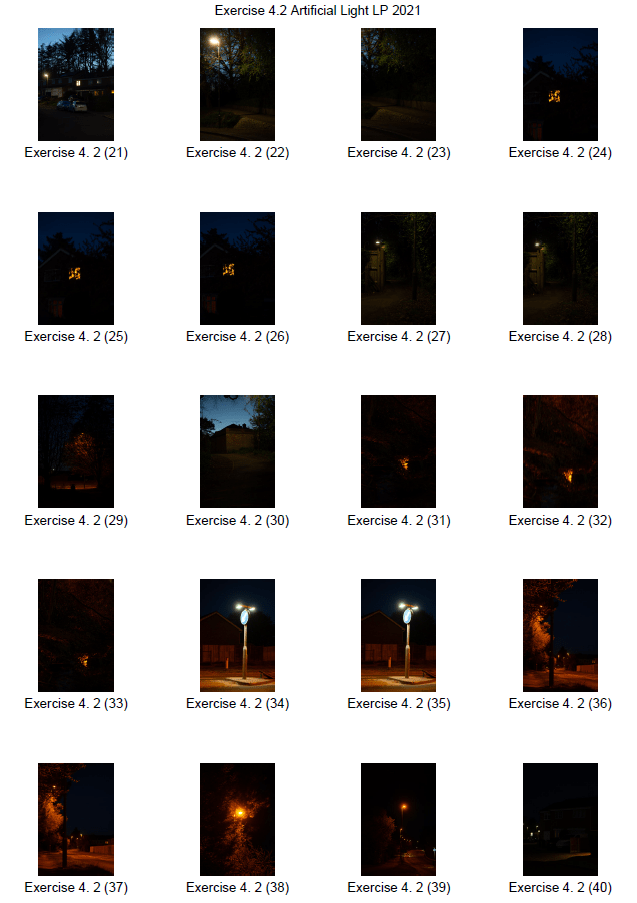
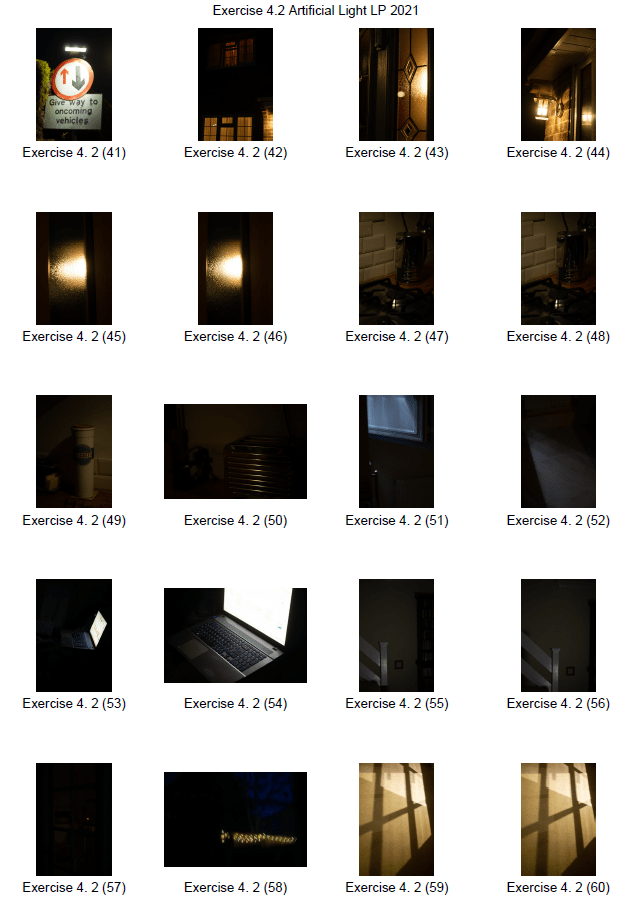
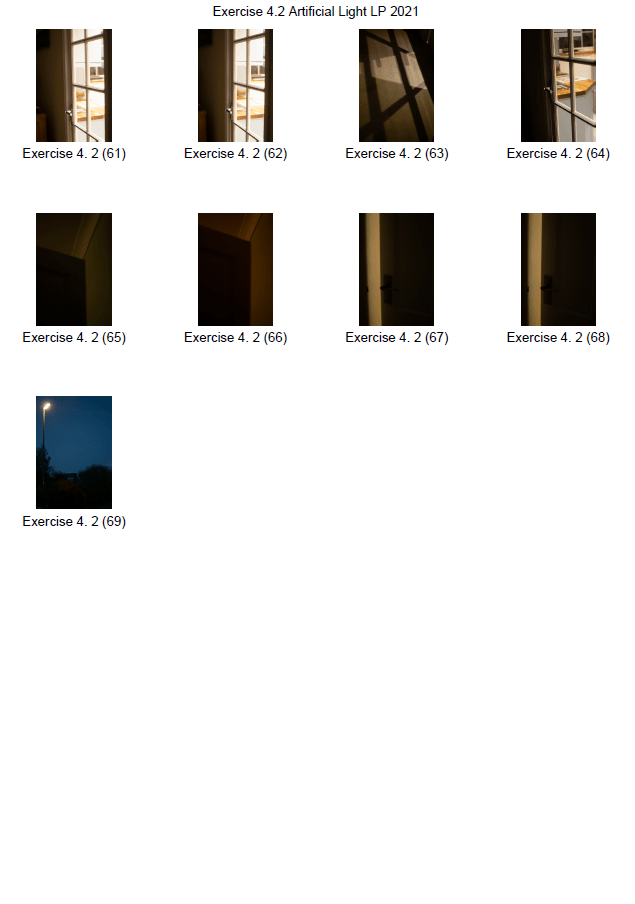
Contact sheets
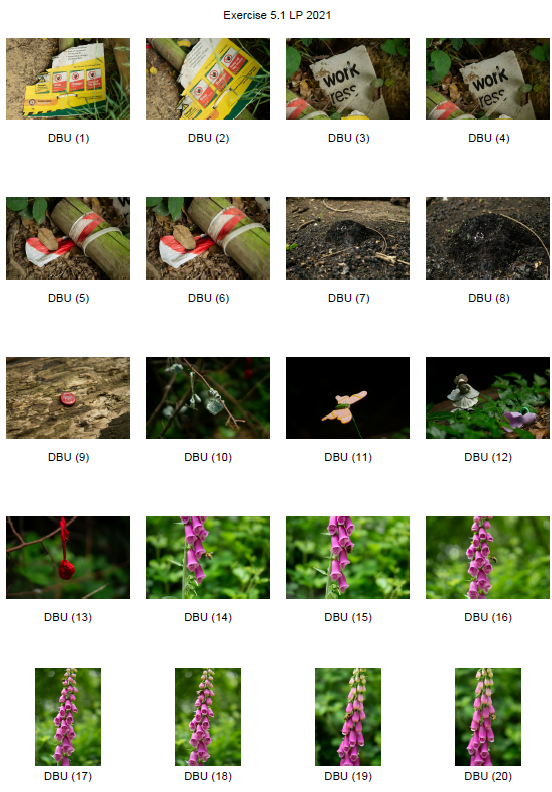
Fig. 1. Contact sheet 1 (2021) 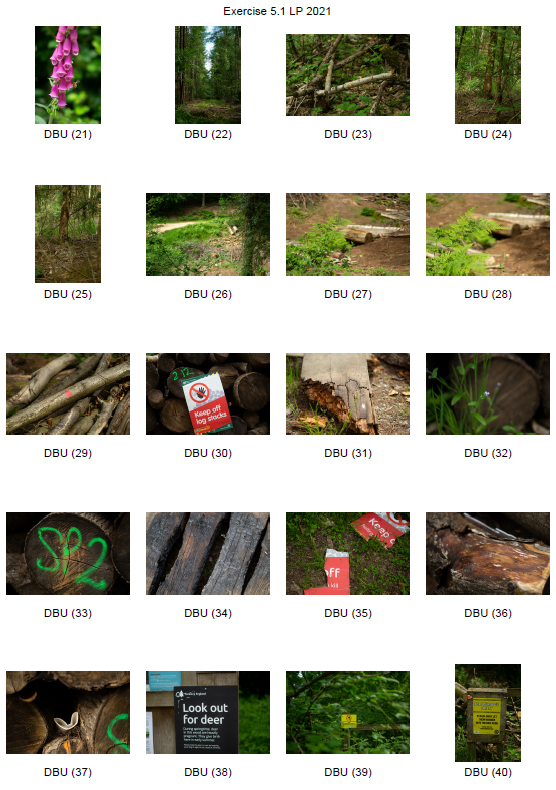
Fig. 2. Contact sheet 2 (2021) 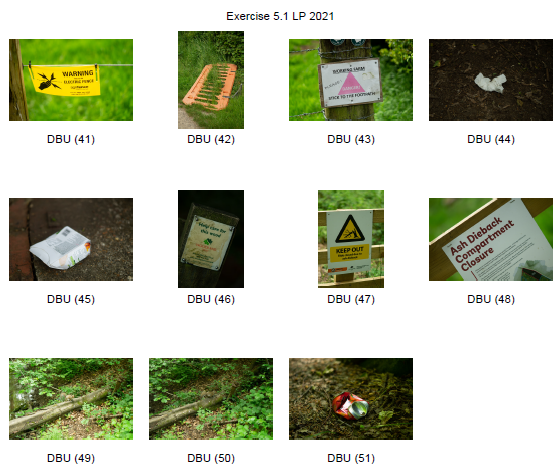
Fig. 3. Contact sheet 3 (2021)
A selection of favourite images:
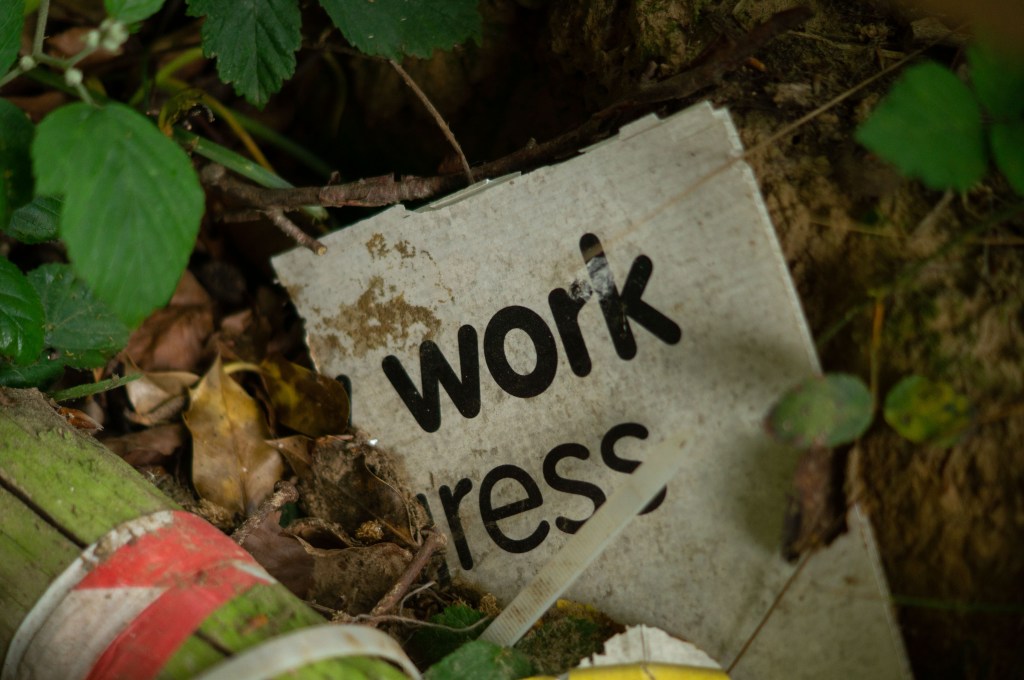
Fig. 4. DBU 4 (2021) 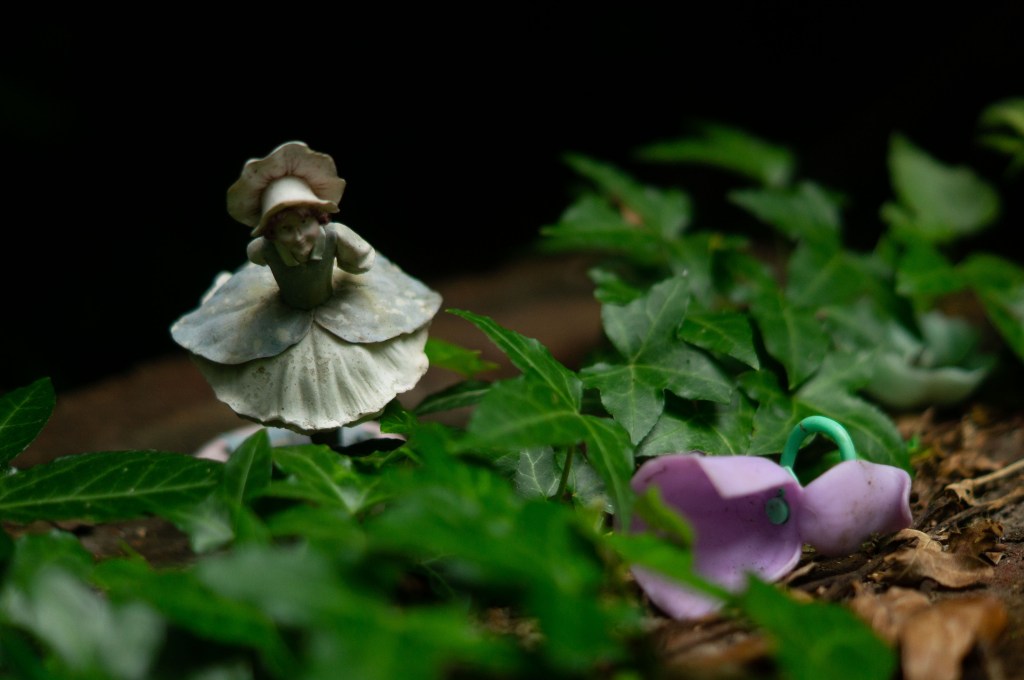
Fig. 5. DBU 12 (2021) 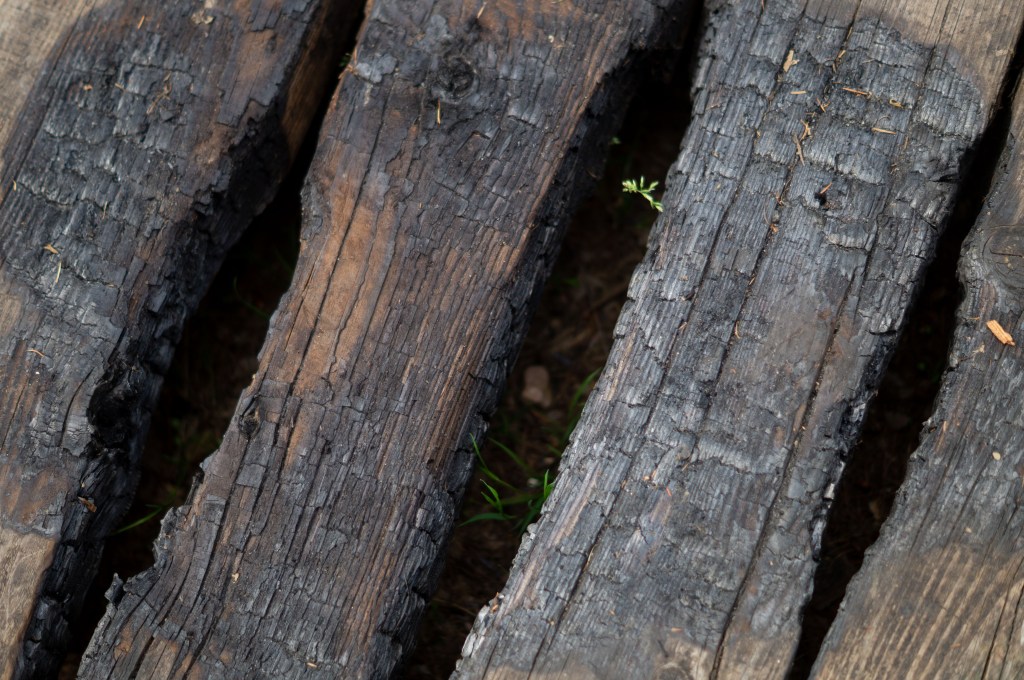
Fig. 6. DBU 34 (2021) 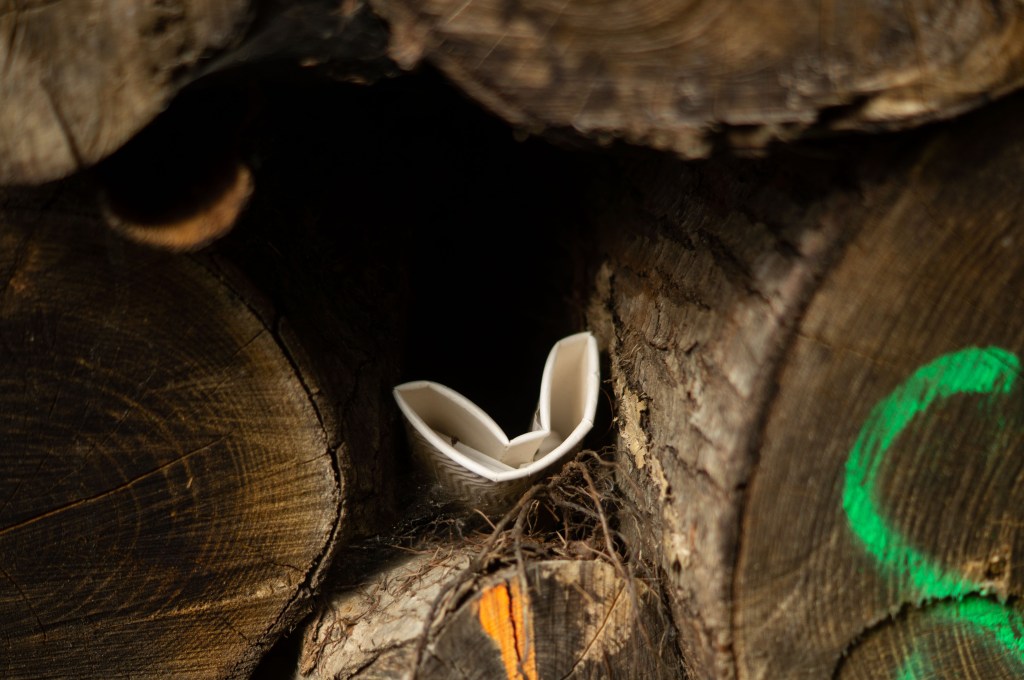
Fig. 7. DBU 37 (2021) 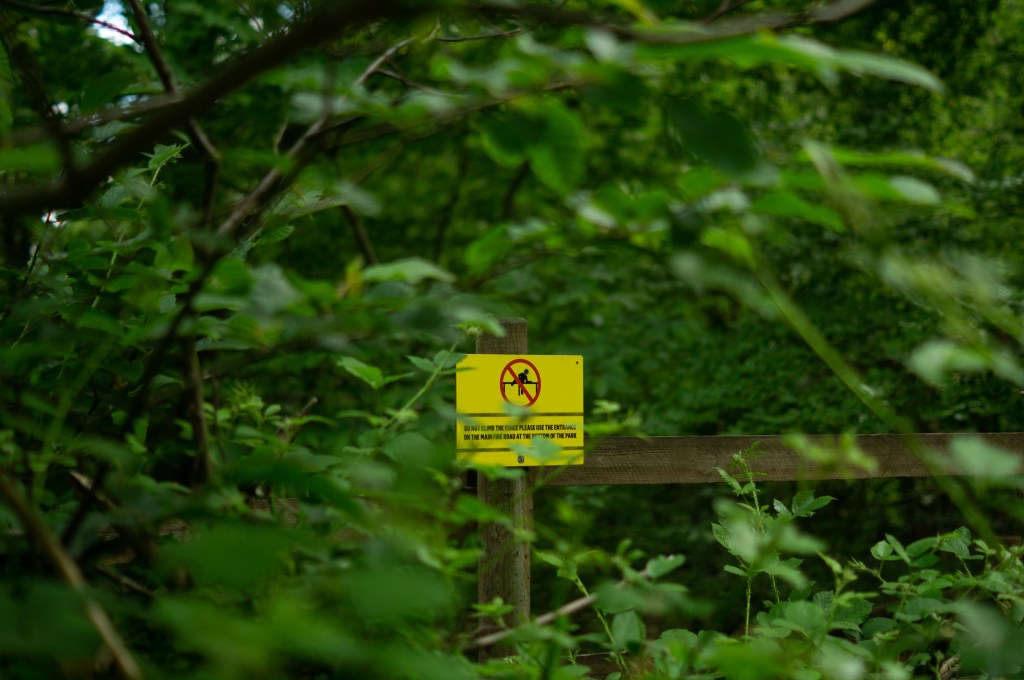
Fig. 8. DBU 39 (2021) 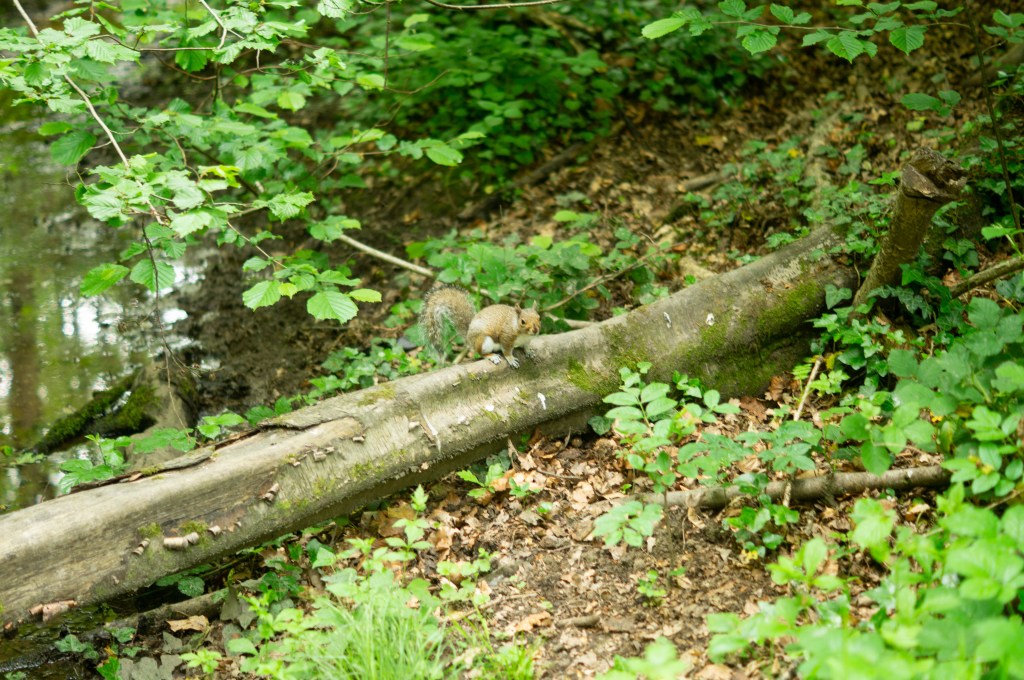
Fig. 9. DBU 49 (2021)
The selection of the six images above is visually strong, well framed and clearly show where the focal points are. Earthy tones perfectly reflect the life and death of nature, rich soil and crisp green foliage. Tonal differences throughout the compositions provide a steady balance between the dark shadowy areas, well lit vibrant sections and shapes that supply a contrast between the organic and more structural man-made subjects featured. Using natural overcast light allowed me to capture diffused shadows and highlights that made the shallow depth of field creamer and smooth, complimenting the fragility of the nature I was documenting. Contextually and conceptually, they present the various elements found within our woodland, from rubbish, to work signs, animals navigating through their home despite it. It may encourage the viewer to think about our effect on the area we live in, how people treat it and the results of these actions. The juxtaposition between nature and man-made objects or situations is jarring as it doesn’t belong and evokes a powerful reaction.
My final ‘select’:
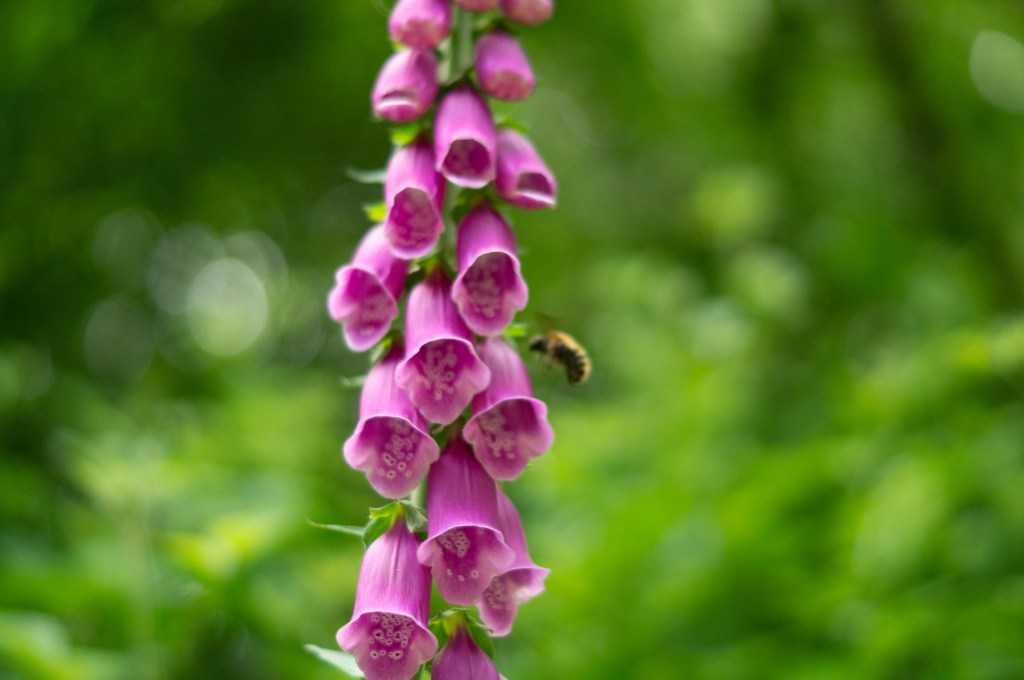
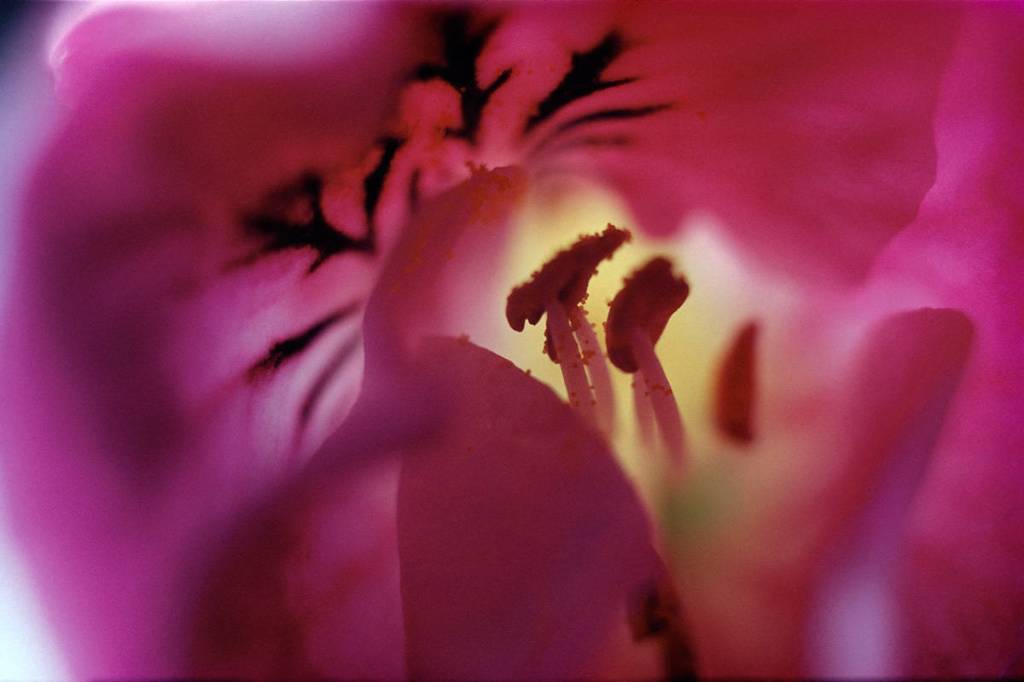
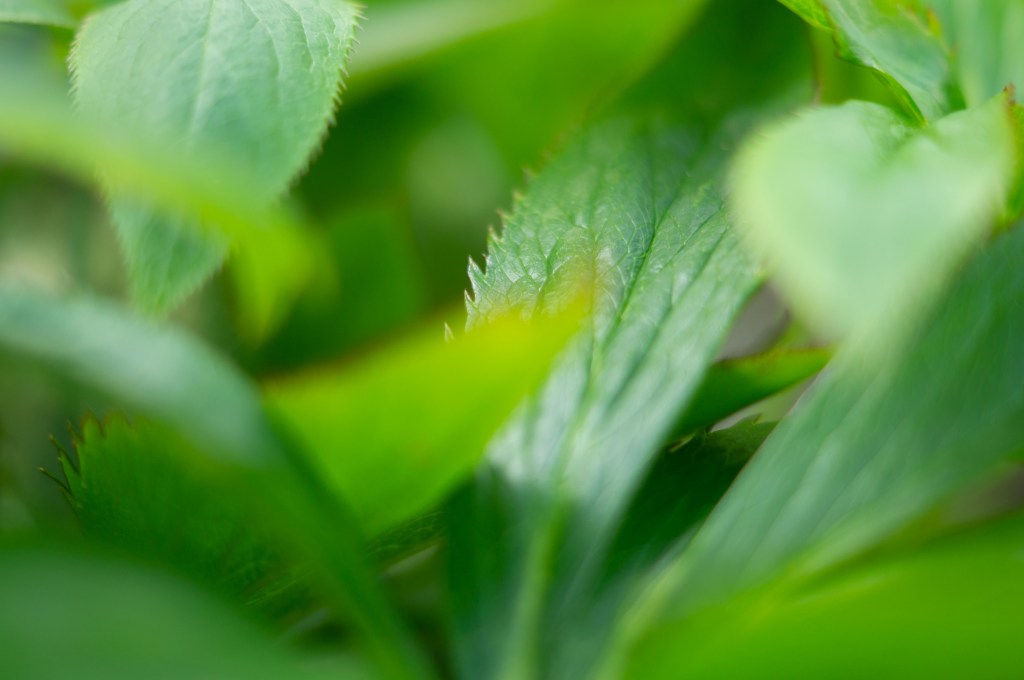
While that collection of photographs were powerful contenders for my ‘select’ and final image, the shot that spoke the most to me was DBU 16 (see Fig. 10). This picture surprised me the most, as it doesn’t necessarily present the idea of deforestation and the massive effect on nature at first glance. Unlike the other compositions, there aren’t any man-made subjects within the frame indicating building work, littering or burnt wood and foliage. Tonally it is balanced, as the shadows and highlights are soft rather than heavily contrasted, while the colours are vibrant and pleasant to look at. Everything about this shot is organic, fresh and full of life, soft due to the natural light and shallow depth of field; a complete juxtaposition to the darker, grittier photographs of old cups, spray-painted trees and plastic items. However, conceptually it still connects with my initial idea of capturing the woodland and its effects on nature and humans etcetera.
When I saw the foxglove growing in between the grass down a thin, closed off path, I was inclined to capture it even though I felt it didn’t ‘fit’ the aesthetic or context behind this exercise. This flower was in the most secluded area, away from the set path, in the middle of trees and tufts of long grass. Despite the destruction and interactions that have taken place in the area, this piece of nature has thrived. Its petals were vibrant, silky and undamaged, while leaves from the trees behind were crisp, fresh and thriving. Initially, I just thought I was taking a pretty picture, quite a simple shot which some may call a ‘postcard shot’, but when I looked at it closely there was a bee in the background. Nature continues to live on no matter what we’re doing, doing its job, much like the bumblebee in this shot. It wasn’t intentional to have a bee in the frame as the focal point was on the foxglove but it’s added an extra layer to the composition as a whole. Without bees and other insects, we wouldn’t have flowers, trees and a healthy abundance of nature to help us survive. The fact that its wings blurred despite the fast shutter speed and its convenient placement within the shallow depth of field in the background feels like a clever reference to the decrease in bees and the danger they face due to the lack of plants that allow them to pollinate. If the bee was further back we would barely see it; it would disappear in the blur.
The distance between humans and nature isn’t far at all, we need it more than we think.
Reflection:
This exercise was interesting as it lightly linked back to assignment 1, where I revisited important places from childhood to see how they had changed. My final image wasn’t one I was expecting to choose, purely because of the initial plan to explore the destruction and man-made influences within the local woodland. Giving myself a challenge by picking the first idea that came to mind made me focus more on the location which is what photography is all about. It was a risk, but it worked.
The distance between us has taught me that photographs may look simple, plain and just become another pretty picture, but if you take a deeper look you may find something you weren’t anticipating. When selecting images, it’s important to choose those that are compelling even if it’s not one of your favourites to start with. In future, I will be more flexible when it comes to picking a final set and presentation.
References:
Bloomfield, R., 2018. Photography 1: Expressing your Vision. 4th ed. [pdf] Barnsley: OCA, p. 103. Available at: https://www.oca-student.com/course/photography-1-expressing-your-vision [Accessed 13 June 2021].
List of images:
Figure. 1. Powell, L. (2021) Contact sheet 1 [pdf, screenshot] In possession of: Lauren Powell: Eastleigh.
Figure. 2. Powell, L. (2021) Contact sheet 2 [pdf, screenshot] In possession of: Lauren Powell: Eastleigh.
Figure. 3. Powell, L. (2021) Contact sheet 3 [pdf, screenshot] In possession of: Lauren Powell: Eastleigh.
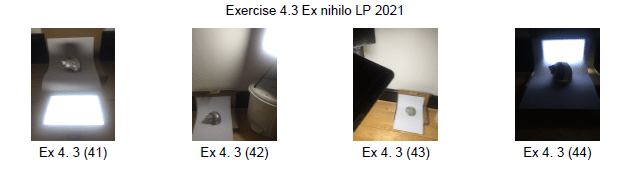
Figure. 4. Powell, L. (2021) DBU 4 [image] In possession of: Lauren Powell: Eastleigh.
Figure. 5. Powell, L. (2021) DBU 12 [image] In possession of: Lauren Powell: Eastleigh.
Figure. 6. Powell, L. (2021) DBU 34 [image] In possession of: Lauren Powell: Eastleigh.
Figure. 7. Powell, L. (2021) DBU 37 [image] In possession of: Lauren Powell: Eastleigh.
Figure. 8. Powell, L. (2021) DBU 39 [image] In possession of: Lauren Powell: Eastleigh.
Figure. 9. Powell, L. (2021) DBU 49 [image] In possession of: Lauren Powell: Eastleigh.
Figure. 10. Powell, L. (2021) DBU 16 [image] In possession of: Lauren Powell: Eastleigh.