
Summary:
In this post I have
– Mentioned the brief for this exercise.
– Briefly explained my process for choosing Eugene Atget as my starting point for these images.
– Gave a short description about Atget’s work and what he was well known for, plus his approaches.
– Briefly covered where I was taking my images and why.
– Listed my camera settings and the reasoning behind these choices.
– Included contact sheets of all the images shot for this exercise and picked out 5 to analyse.
– Gave a short analysis for each chosen image, exploring the light and how it effected the compositions.
– Reflected on this exercise as a whole and what it taught me.
‘Taking the photography of Mann, Atget or Schmidt or a photographer of your own
choosing as your starting point, shoot a number of photographs exploring the quality of
natural light. The exercise should be done in manual mode and the important thing is to
observe the light, not just photograph it. In your learning log, and using the descriptions
above as your starting point, try to describe the quality of the light in your photographs in
own words‘ (Bloomfield, 2018).
To avoid overthinking the practitioner in which I would gain inspiration, I searched each one via Google and scanned through a few images to see which one stood out most to me. By doing this, I was drawn towards Eugène Atget, as his work contains a variety of approaches as mentioned in the EYV coursebook; ‘He usually made such images – see, for example, Environs, Amiens – in the middle of the day, when shadows were minimal. Atget’s late photographs, however, are frequently marked by subjective light and deep shadows’ ([Artist description], n.d).
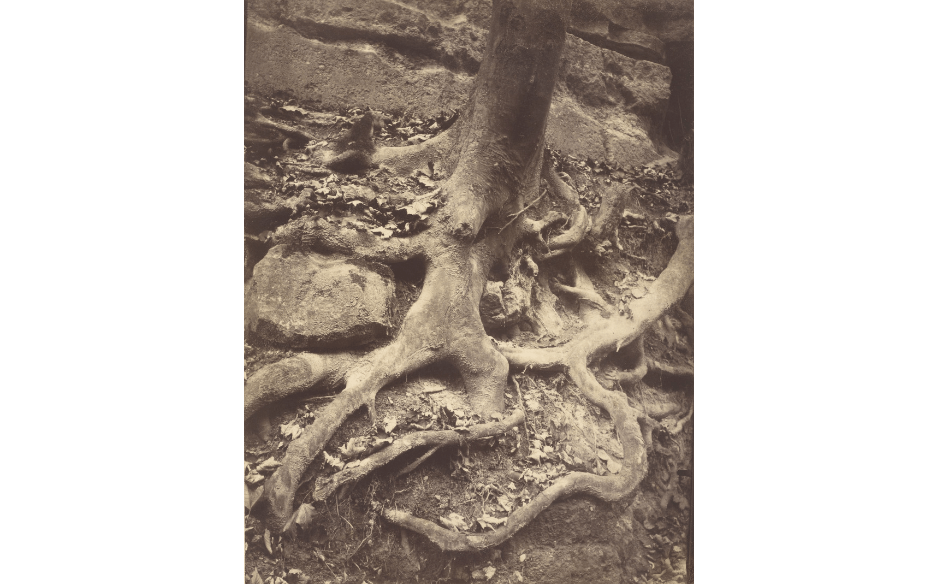
Atget was a French photographer who is well known for his imagery of the architecture and streets within Paris. Keeping the idea of outdoor photography in mind, I took the opportunity to complete the exercise while out on a walk around the woods. Quite a few of his works included nature, trees especially (see Fig. 1) so my images were still taking influence even without architecture or street imagery.
While most of his works featured diffused light, in turn capturing a clear and detailed composition, there were also the occasional shots that included heavy shadows or highlights to provide depth and show silhouettes of the surroundings or subjects. The dynamic approach is what I took on board while exploring my surroundings, allowing me to capture a range of images that fell into both of these categories.
Contact Sheets:
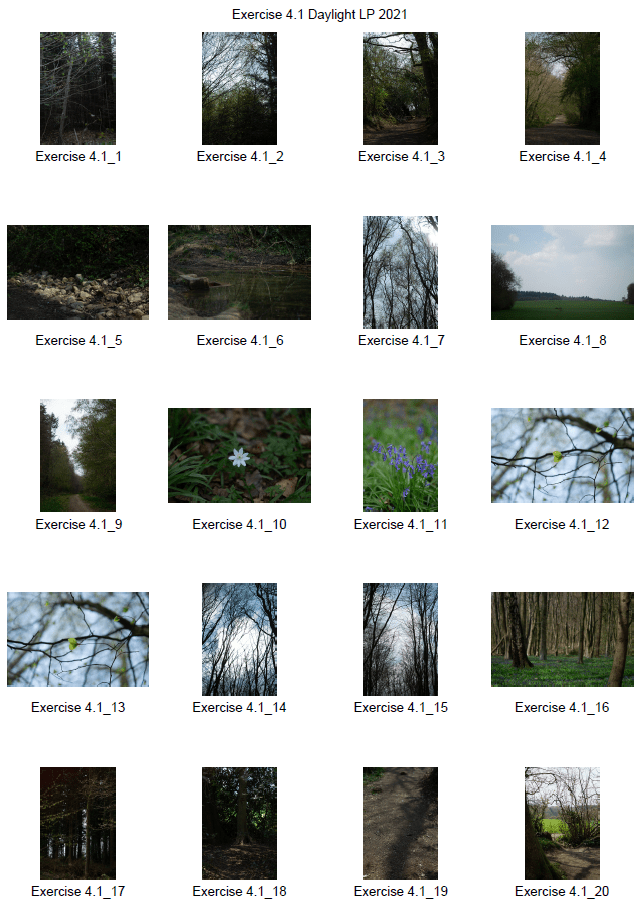
Fig. 2. Contact sheet 1 (2021) 
Fig. 3. Contact sheet 2 (2021)
Before shooting images, I set the white balance to auto mode to avoid any artificial temperature changes within the camera. The aperture was set to F1.8 for no other reason than personal preference and set the camera mode back to manual following a mini light meter exercise. My 75mm lens was also set to manual mode, allowing me to take time to observe the light and actively be aware of the depth of field for each area I shot.
Images for analysis:
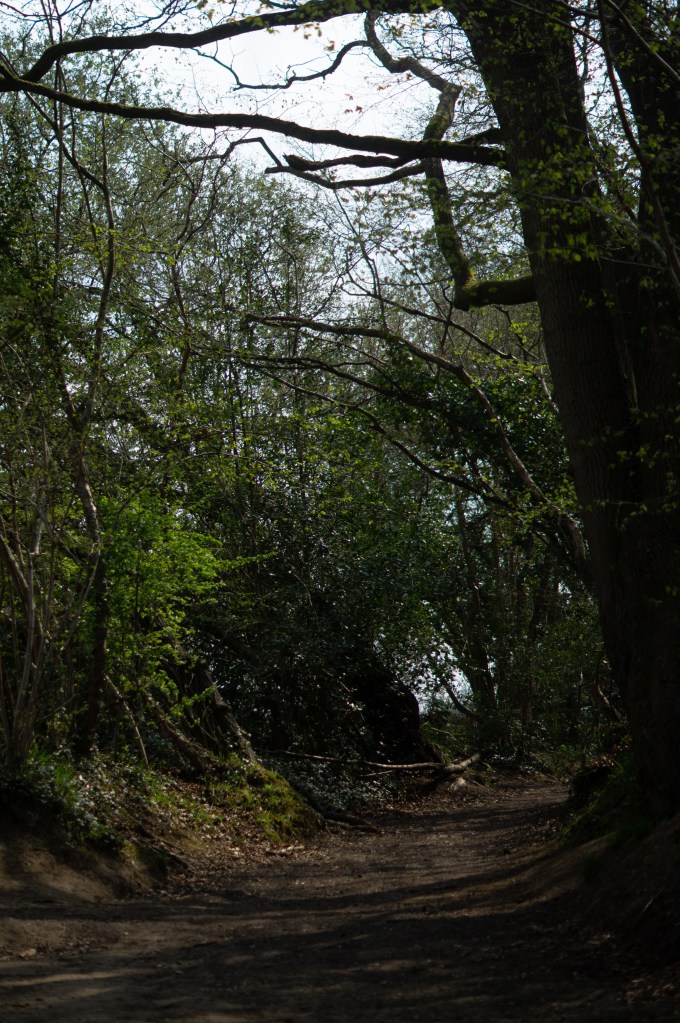
Fig. 4. 1 (2021) 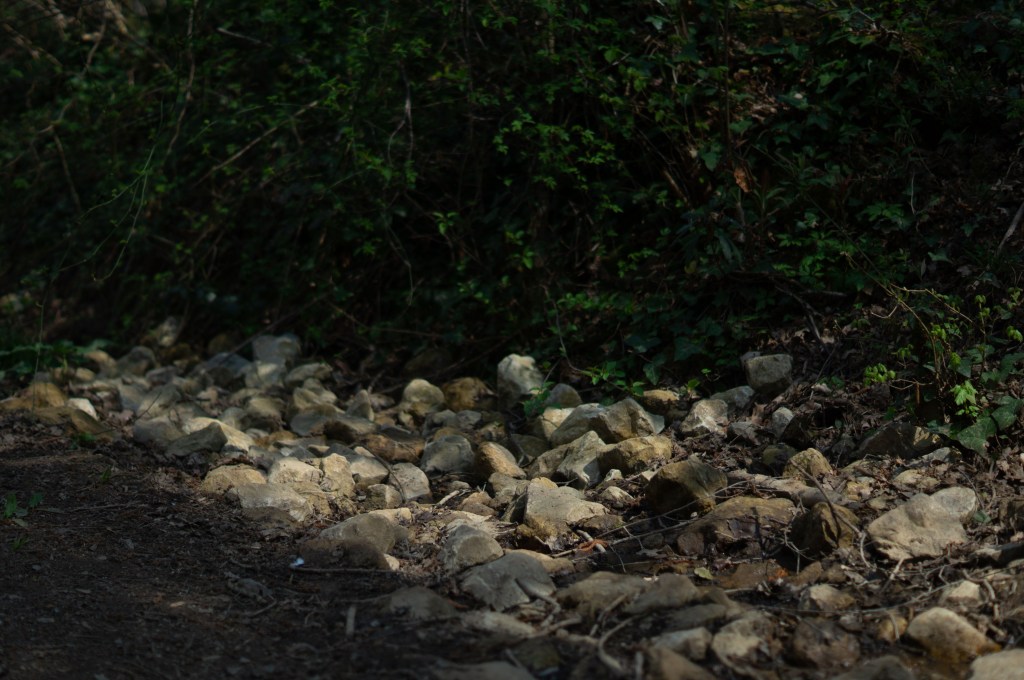
Fig. 5. 2 (2021) 
Fig. 6. 3 (2021) 
Fig. 7. 4 (2021) 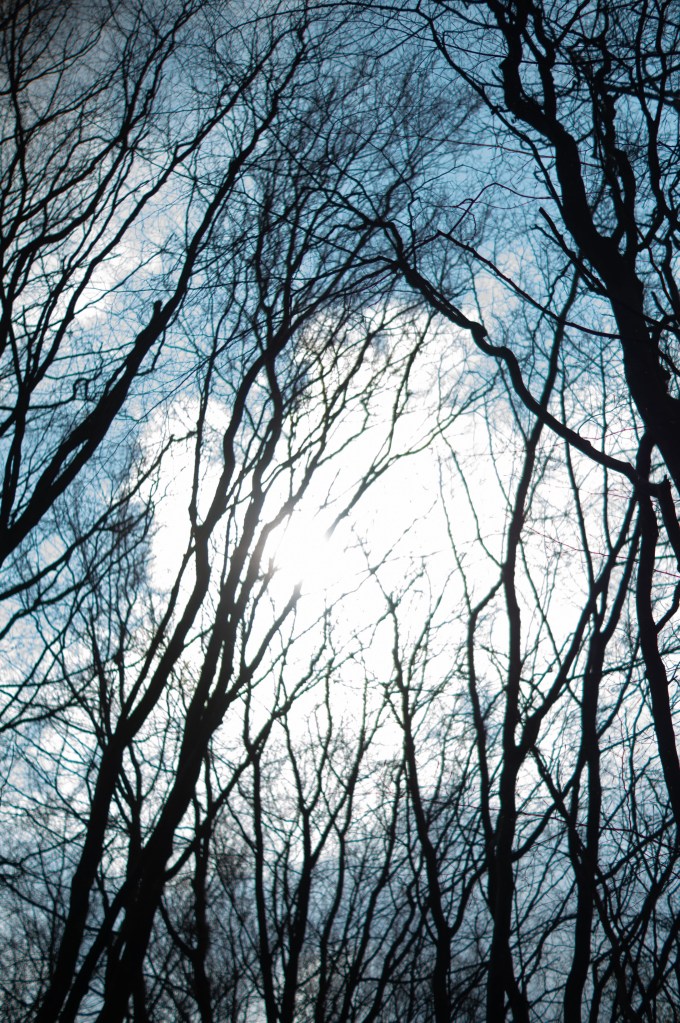
Fig. 8. 5 (2021)
1 – The light shining through the trees from the east caused shadows to fall on the sunrays below. The sky is bright but not so much that it has blown out the composition. The leaves on the left show warmth from the sun, juxtaposing the cool and shadier shadows. Shooting this image as a portrait has allowed the tall trees to frame the top, providing context to what is blocking the light and how closed in this location is.
2 – The small patches of light that shone through the gaps within the leaves of bushes and trees create a focal point for this photograph by enhancing the darker areas within the frame. The size and textures of the rocks are enhanced by the contrast of highlights and shadows, preventing them from looking flat and smooth. Light can be used as a spotlight for the subject, leading the viewer towards the significant elements within the composition.
3 – Unlike the previous photographs, this one is more diffused and lacks much depth. Despite the lack of shadows and highlights, there are still reflections and shapes within the water that provides movement and texture to the composition. In my opinion, it feels less exciting as the colours are neutral. Nonetheless, exploring the importance of natural light and its effect on a subject is what this exercise is all about, whether we like the result or not.
4 – The light came from behind the camera, as opposed to the sides or directly in front of the lens. As a result, instead of capturing the silhouette of the leaves and branches, we can see the light green and veins of the leaves. Other images in this collection lack a deep depth of field because of the enclosed areas, so to capture such a soft, diffused image that is also full of depth shows how light and location can affect the mood or overall result of a piece of work.
5 -Shooting directly at the sun has caused the camera to capture the skeleton silhouettes of the group of trees in the frame. There is no light from behind to shine on the branches to illuminate the textures of the wood, so they become spindly lines that are cutting through the sunrays. Due to a clear sky, we can see small patches of blue that bring a pop of colour to an eerie photograph. The sun glare in this shot creates a juxtaposition between images 2 and 4, where the light is bright but not enough to cause the lens to be overwhelmed.
Reflection:
This exercise helped me understand the power of light and the significance that it has within photography. Without it, capturing images would be impossible, but playing around with light and observing how it falls can be the difference between a good and bad image. I have learnt that I prefer using more dynamic and contrasting light rather than diffused when it comes to outdoor photography due to the enhanced shapes, textures and colours within the composition. My favourites from this image set are 2 and 5 (see Fig. 5., and Fig. 8), for that very reason. Diffused natural light feels better suited for indoor photography from a personal standpoint. Ultimately, however, it depends on the picture and what effect you want to create, as seen in image 4 (see Fig. 7).
References:
[Artist description]. (n.d) Photography 1 Expressing Your Vision Barnsley : OCA.
Bloomfield, R., 2018. Photography 1: Expressing your Vision. 4th ed. [pdf] Barnsley: OCA, p.84. Available at: https://www.oca-student.com/course/photography-1-expressing-your-vision [Accessed 22 April 2021].
List of images:
Figure. 1. Atget, E. (1906) Saint-Cloud, Tree Roots, Saint Cloud Park [Photograph] Available at: https://www.getty.edu/art/collection/objects/63460/eugene-atget-saint-cloud-tree-roots-saint-cloud-park-french-negative-1906-print-1920s/ (Accessed 22nd April 2021).
Figure. 2. Powell, L. (2021) Contact sheet 1 [pdf, screenshot] In possession of: Lauren Powell: Eastleigh.
Figure. 3. Powell, L. (2021) Contact sheet 2 [pdf, screenshot] In possession of: Lauren Powell: Eastleigh.
Figure. 4. Powell, L. (2021) 1 [image] In possession of: Lauren Powell: Eastleigh.
Figure. 5. Powell, L. (2021) 2 [image] In possession of: Lauren Powell: Eastleigh.
Figure. 6. Powell, L. (2021) 3 [image] In possession of: Lauren Powell: Eastleigh.
Figure. 7. Powell, L. (2021) 4 [image] In possession of: Lauren Powell: Eastleigh.
Figure. 8. Powell, L. (2021) 5 [image] In possession of: Lauren Powell: Eastleigh.
