Summary:
In this post I
– Included my annotated contact sheets for my final shoots, including the images I don’t want to use, what images are good and what needs editing if necessary.
– Briefly referred to my shoot plan and explained how I set up my shoot.
– Included camera settings and changes made throughout.
– Explained my timescale choices in more detail and discussed what I learnt about each shoot.
– Mentioned my weaker images and why.
– Discussed post-processing and how I came up with my final images.
– Briefly covered what these shoots have taught me.
– Included my final images, what I liked about them, the techniques I used, the artists who inspired me and what I liked about the (in)decisive moment.
– Wrote a brief reflection in bullet points about this process.
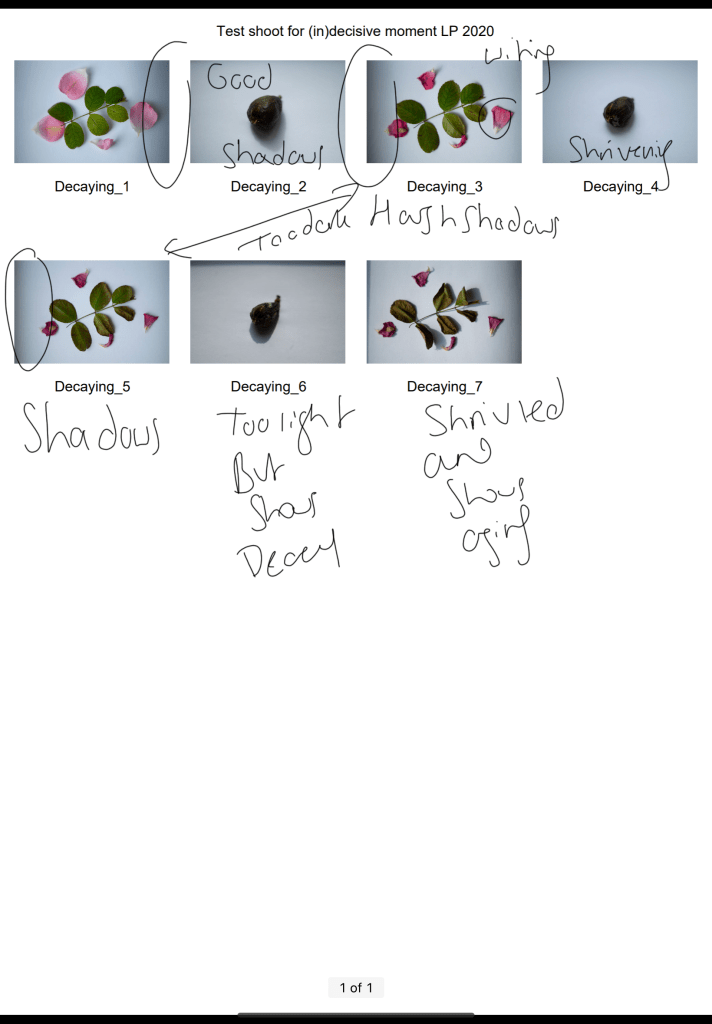
Before editing and analysing my final images, I made contact sheets, annotated and analysed them to find images strong enough to create multiple double exposures in the post-processing stage.
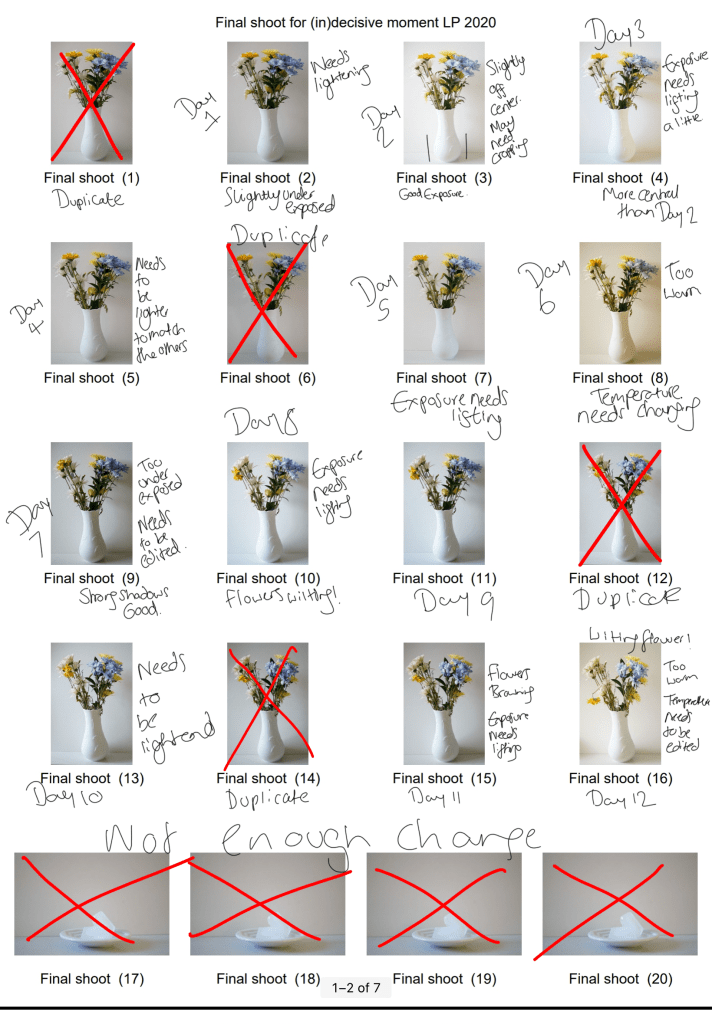
Fig. 1. Contact sheet 1 (2020) 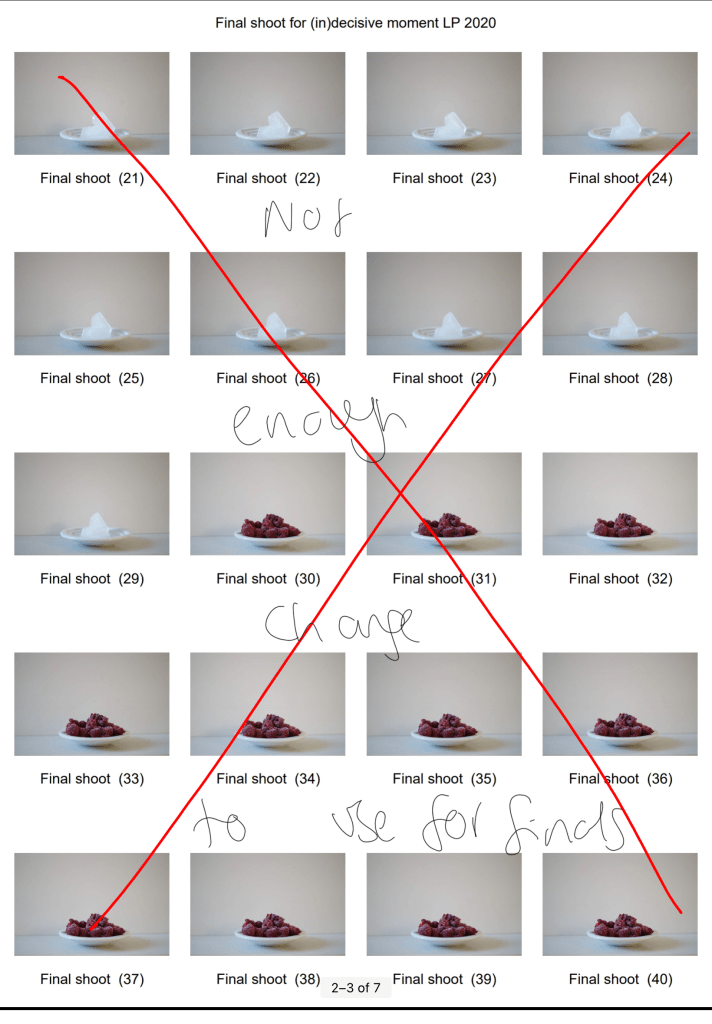
Fig. 2. Contact sheet 2 (2020) 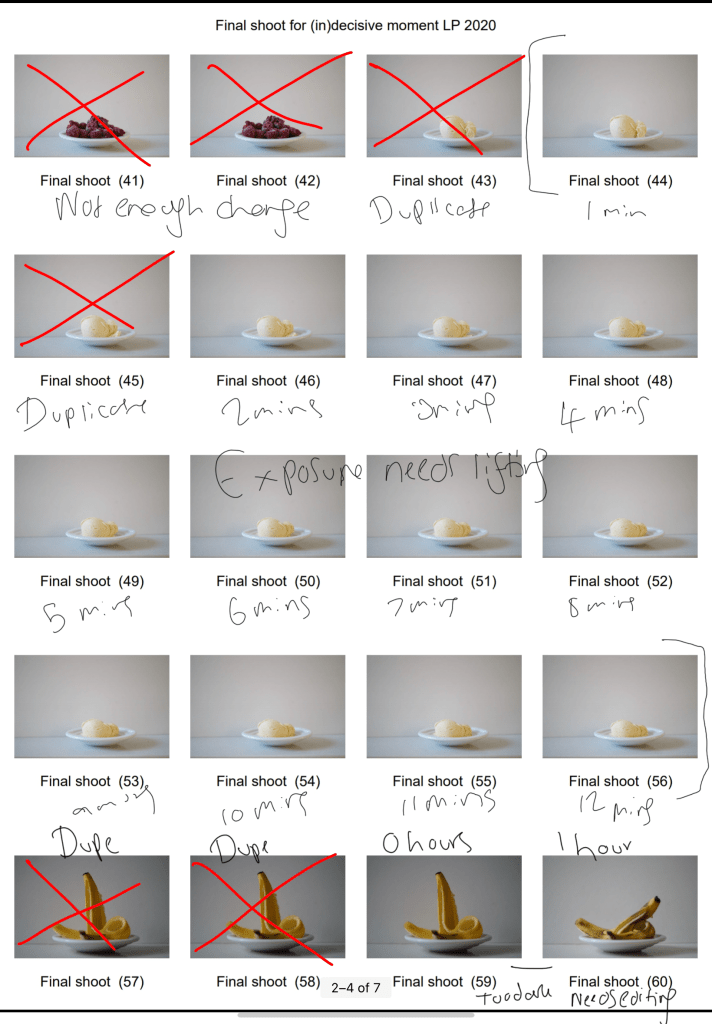
Fig. 3. Contact sheet 3 (2020) 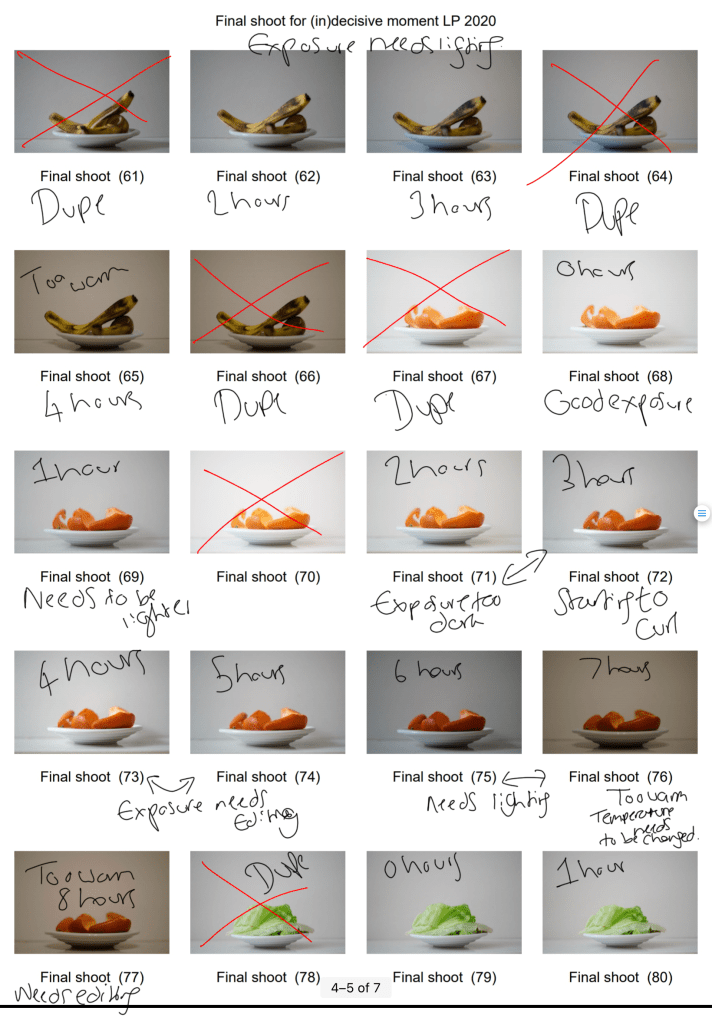
Fig. 4. Contact sheet 4 (2020) 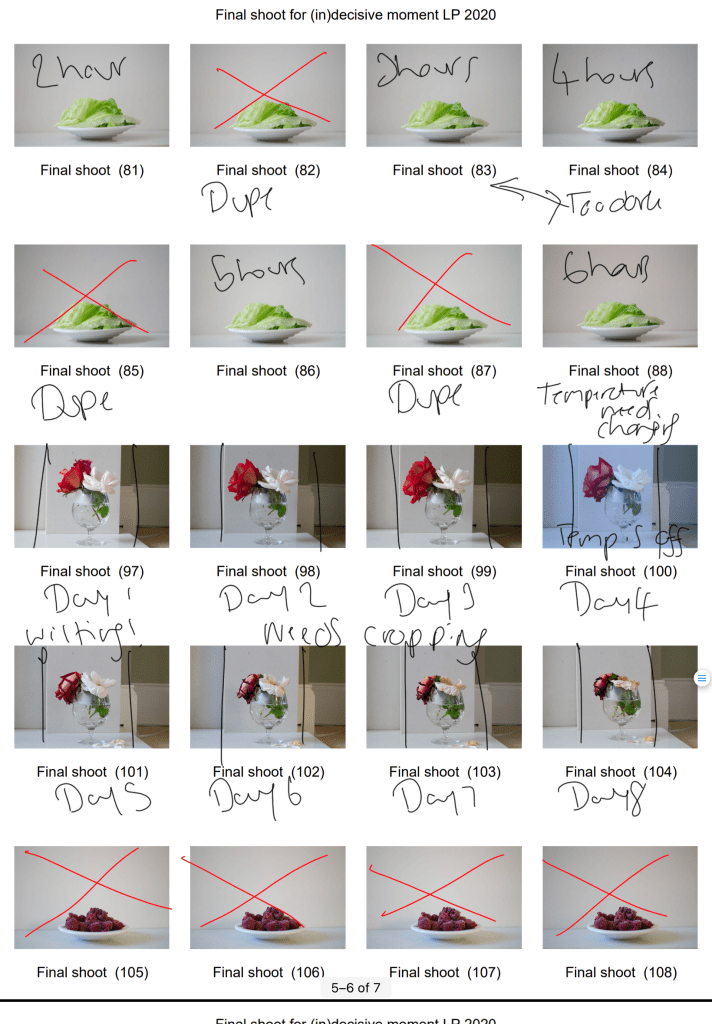
Fig. 5. Contact sheet 5 (2020) 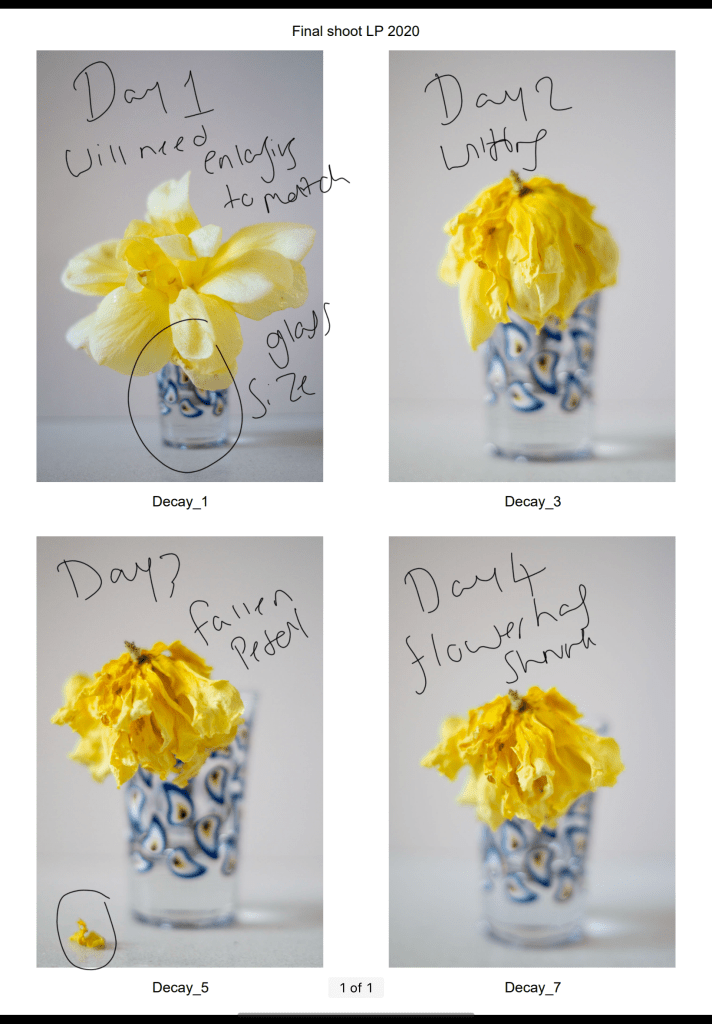
Fig. 6. Contact sheet 6 (2020)
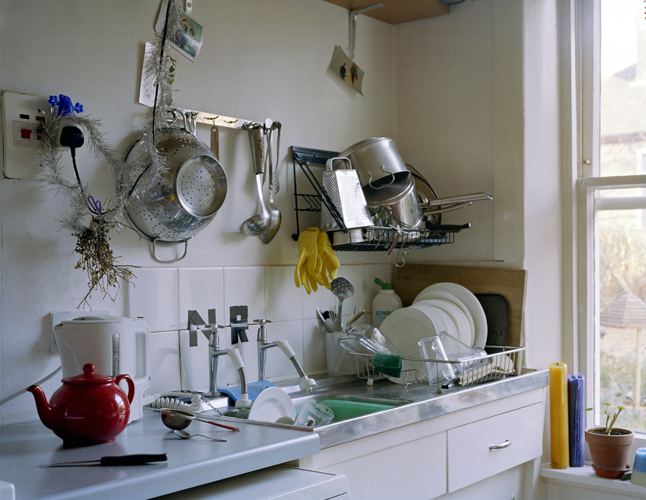
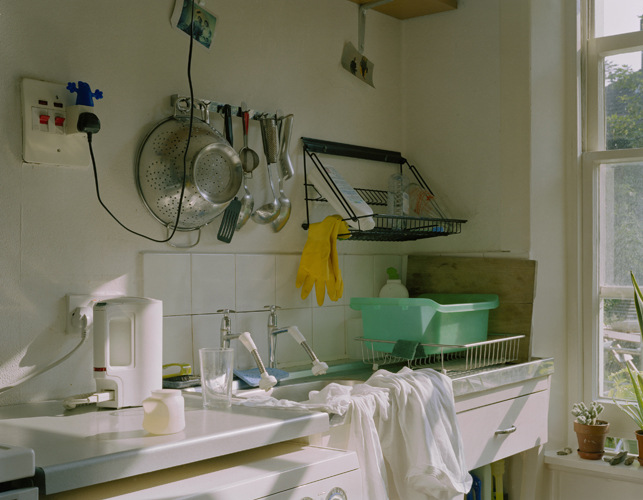
As stated in my shoot plan, I wanted to isolate a variety of perishable goods within the camera frame, across the space of a few minutes, hours, days or weeks. Setting the camera up in a domestic environment meant that I had to consider people walking around and moving items within the house during the photoshoots. With these thoughts in mind, I made sure to pick an area suitable for this project without the possibility of knocking the camera or subject between shooting.
The items were also in an area that wouldn’t be affected by direct sunlight, another interference I wanted to avoid, in turn, preventing the chances of the final image blowing out from the light.
After shooting the images ‘Final shoot 97-104′ (see Fig. 5), I decided to put a white piece of cardboard behind the items, as the wall and fireplace took away from the beauty of the flowers in the shot, distracting the eyes and overall ruining the images. Thankfully I was able to crop the image down in photoshop to save the image.
Due to the changes in light that would naturally occur throughout the day, the shutter speed was ever-changing; to avoid under or over-exposure. The distance between the subject and my Sony A57 stayed the same, as I didn’t touch either item besides the shutter button during the shooting process. Another consistency throughout these shoots was the aperture (F/1.8) and ISO (400). Using a shallow depth of field meant that the focus was entirely on the subject in the frame, while the background was soft and un-disturbing.
The time scales for this project were determined by the perishable goods I chose and the amount of time that seemed suitable enough to show signs of decay. Fruit peels and fresh foods tend to perish quickly once the air gets to them, so I decided to capture a selection of 3 perishable foods across 4, 6 and 8 hours (see Fig. 10., Fig. 11., and Fig. 12). As seen in the contact sheets the foods began to curl, wilt and show signs of oxidisation within the first hour, the exact changes I wanted to document. Overlapping these pictures in photoshop allowed me to show the process items went through across their chosen timeframes, something we don’t usually see all at once. To the naked eye, we see signs of decay very slowly, not necessarily seeing all the tiny changes as they’re happening, so being able to capture the ‘invisible’ and see all of the changes, big or small is fascinating. Double exposures are ghostly in appearance, as can be seen in my research on Martin Dietrich. Despite my images not being taken within the camera, I wanted to achieve the same ghostly paths of time that Dietrich managed to produce without removing the colour to keep a sense of life within the photograph.
Flowers take a fair amount of time to wilt, depending on when they were picked and preserved, allowing me extra time to document the changes within them. The timescale for the flower images were 4, 8 and 12 days. Increasing the number of flowers showed the differences between each variety and their life expectancies. 12 (see Fig. 9) was taken across the space of 4 days, with no water to keep them fed, so the time it took to wilt was almost immediate compared to the other flower images, both of which had more foliage and water to prolong their life.
After adjusting the exposure levels and temperatures, I used various blending modes to create my desired imagery. ‘Lighten’ allowed the images to become slightly transparent and ghost-like, lifting the exposure slightly, doubled up with ‘multiply’ brought back the shadows and textures within the overlapped images. Alternating blends and opacity levels allowed each image to be seen throughout the image while documenting various textures, shapes, colours and life paths.
As seen in the contact sheets, I also attempted to take pictures of frozen foods melting across a few minutes, however, it was unsuccessful. There wasn’t enough time between the shots, to show any changes and present the desired outcome in post-processing.
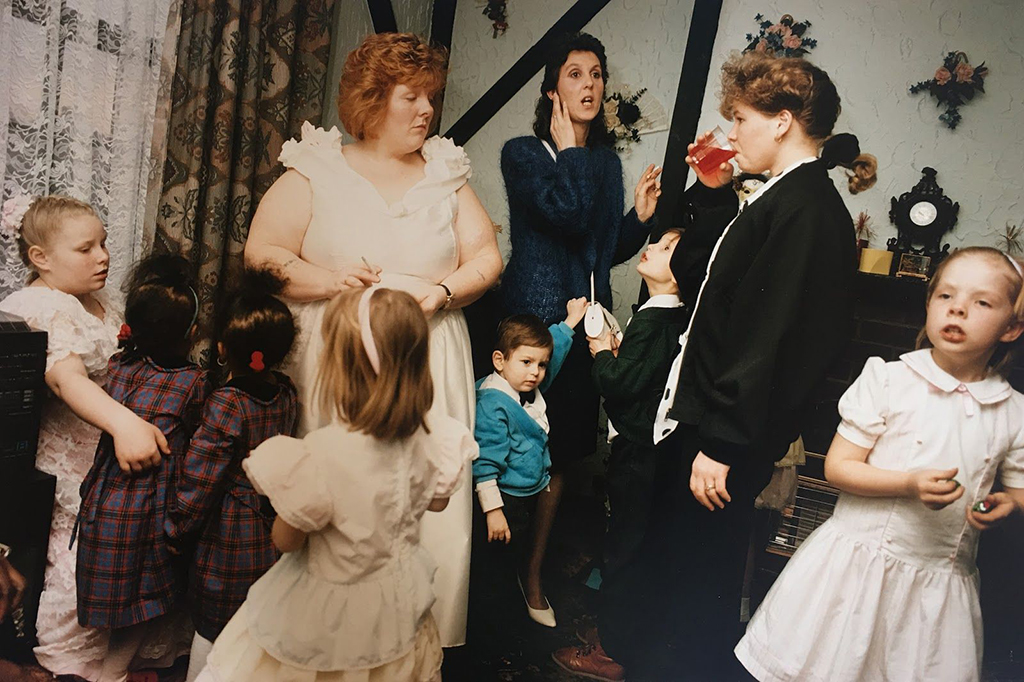
Capturing the ordinary and overlooked items we see around us every day, whether that be the food that feeds us or the flowers that make our homes looks pretty, makes you realise how beautiful they are too. Taking influence from Nigel Shafran, who shot a lot of his work in a domestic environment and took the imagery of mundane subjects we have learnt to ignore, has allowed me to respect the life and death of the things around us. Not everything lasts forever; items eventually break down and become nothing, which is why the mundane is special and no less important than the most extraordinary subjects. Each life cycle is unique, neither two are the same; this alone makes the project indecisive, numerous images and moments are involved.
Final Images
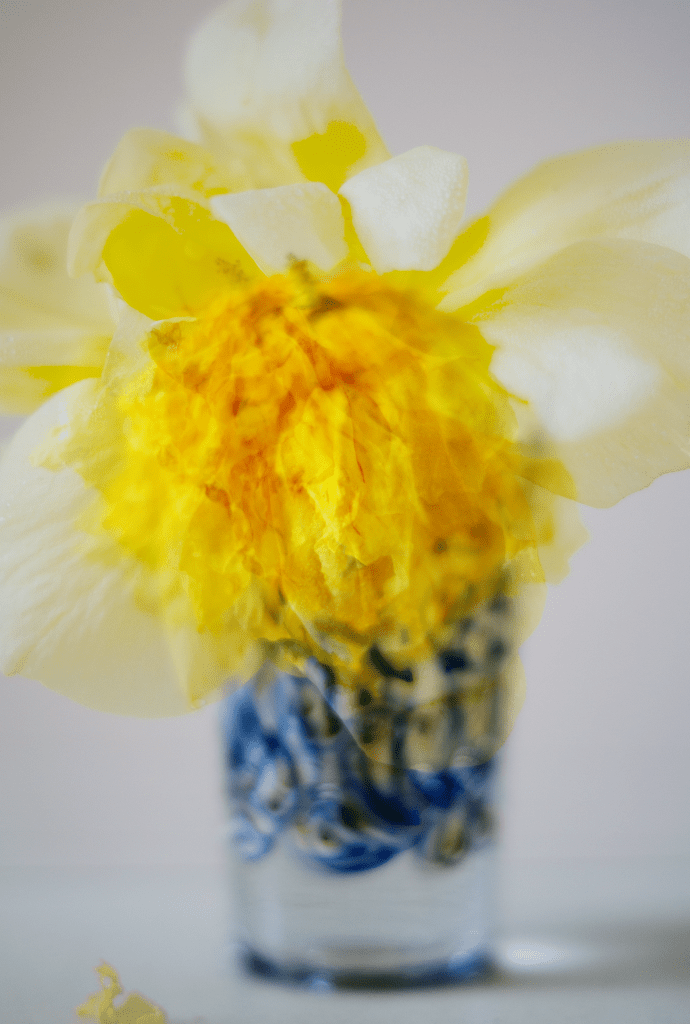
Fig. 7. 4 (2020) 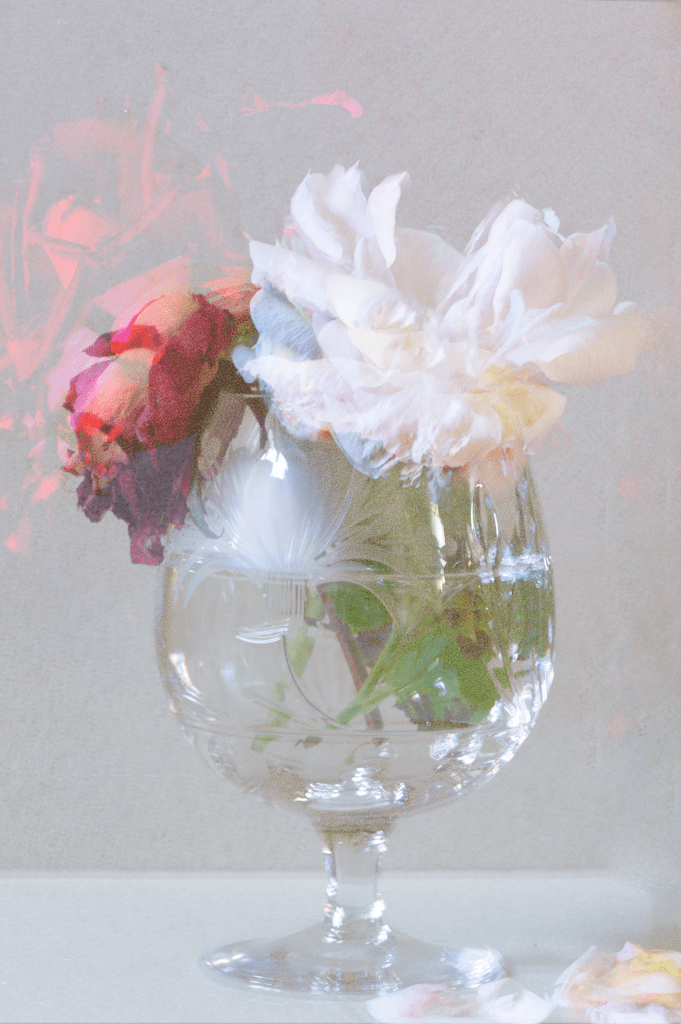
Fig. 8. 8 (2020) 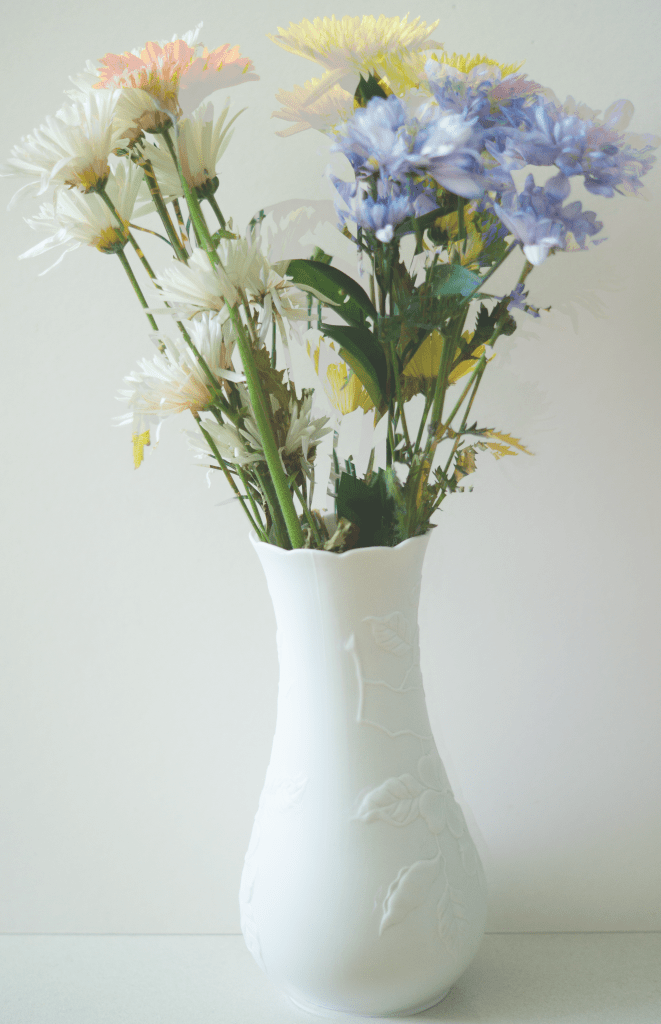
Fig. 9. 12 (2020) 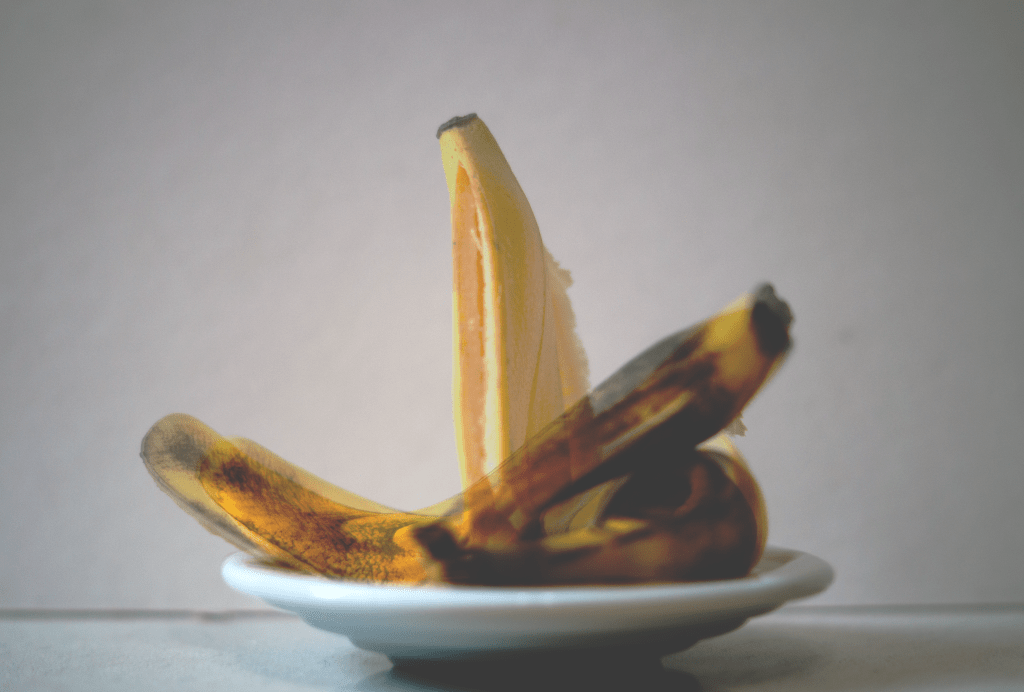
Fig. 10. Four (2020) 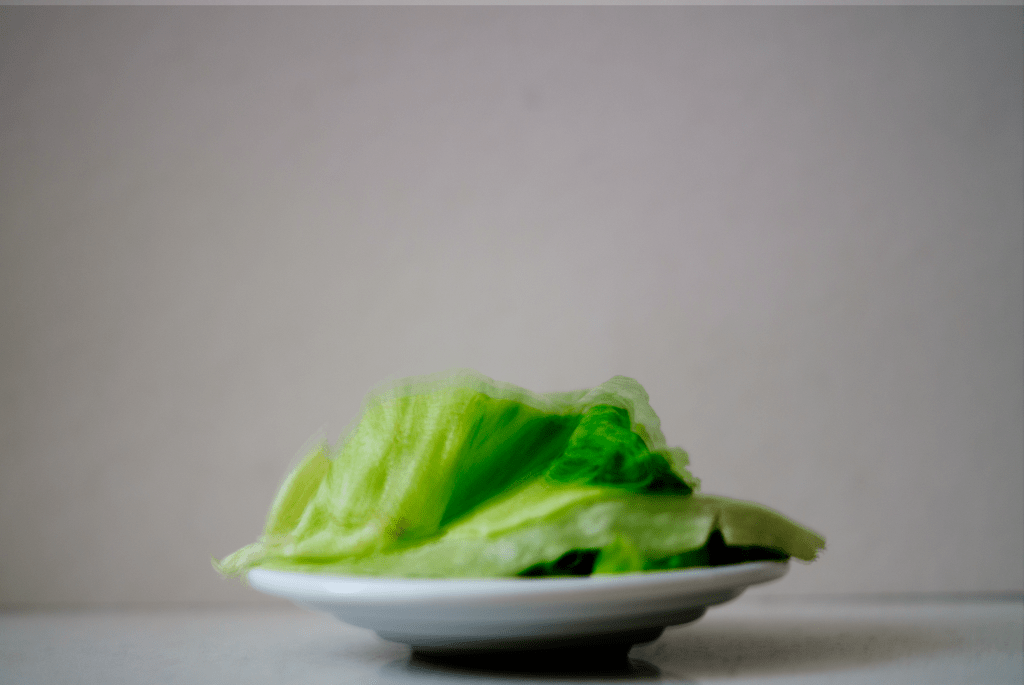
Fig. 11. Six (2020) 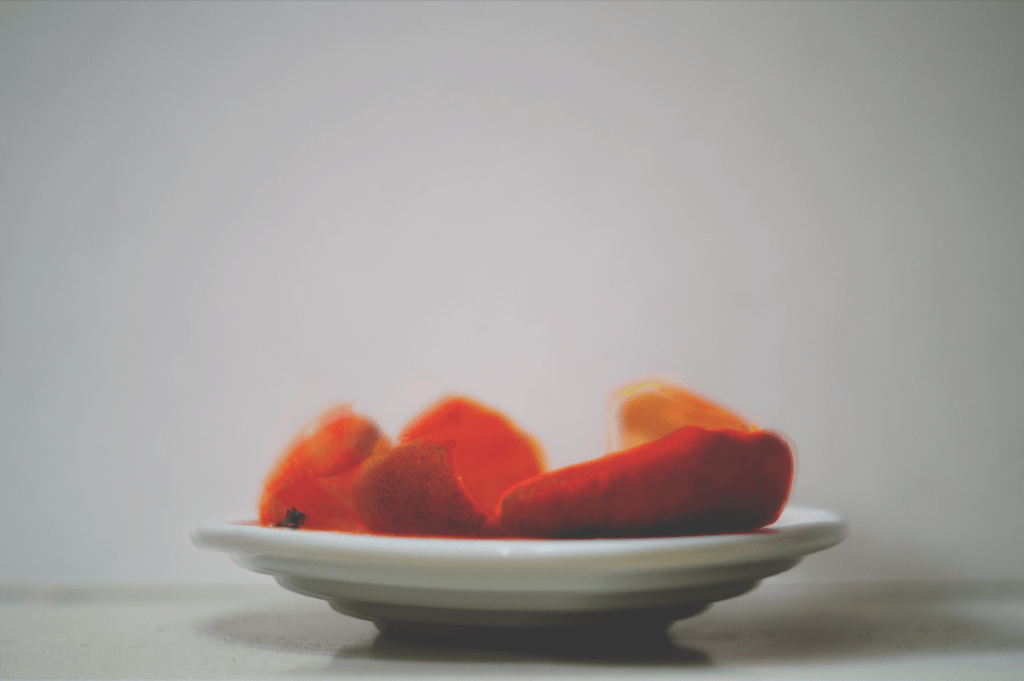
Fig. 12. Eight (2020)
Reflecting on my initial thoughts surrounding the (in)decisive moment, I feel as if I have successfully explored what it means to me. Removing context; like many artists have done when capturing their own (in)decisive moments, allow the viewer to come up with their theories, what one person may think about this set of images may be different to somebody else. The decisive moment felt black and white and straightforward to me, almost telling the story to those viewing it. (In)decisive moments, however, show a multitude of paths and moments, all of which are unique and wonderful. The varying opacities throughout this set show movement and colour changes. Highlights and shadows capture the transitions from each minute, hour or day and the changes in light, textures in the shot, fallen petals or gatherings of dust. Centralising the subject, removing the background and fixing the frame isolates the focal point, with very little to distract the eye from it. There is so much happening mid-frame that you do not need the hustle and bustle of a busy street to document a unique and extraordinary image. The grain and pops of colour within the images create a vintage and film-like finish, much like Nick Waplington’s works of art, saturated in some areas and desaturated in others.
Reflection:
– I’m proud of the images I have ended up with and the process I took to get them.
– The research I did, has helped me understand both the decisive and (in)decisive moments in a much clearer way and the differences between the two, albeit small.
– These shoots have made me more appreciative of the mundane, as well as the life and death cycles of nature.
– It’s inspired me to explore double exposures in further detail and perhaps take some of my own in-camera sometime in the future.
– I’ve become more aware of the importance of composition and the set-up of a shoot, removing items in the background e.t.c.
List of images:
Figure. 1. Powell, L. (2020) Contact sheet 1 [pdf, screenshot] In possession of: Lauren Powell: Eastleigh.
Figure. 2. Powell, L. (2020) Contact sheet 2 [pdf, screenshot] In possession of: Lauren Powell: Eastleigh.
Figure. 3. Powell, L. (2020) Contact sheet 3 [pdf, screenshot] In possession of: Lauren Powell: Eastleigh.
Figure. 4. Powell, L. (2020) Contact sheet 4 [pdf, screenshot] In possession of: Lauren Powell: Eastleigh.
Figure. 5. Powell, L. (2020) Contact sheet 5 [pdf, screenshot] In possession of: Lauren Powell: Eastleigh.
Figure. 6. Powell, L. (2020) Contact sheet 6 [pdf, screenshot] In possession of: Lauren Powell: Eastleigh.
Figure. 7. Powell, L. (2020) 4 [image] In possession of: Lauren Powell: Eastleigh.
Figure. 8. Powell, L. (2020) 8 [image] In possession of: Lauren Powell: Eastleigh.
Figure. 9. Powell, L. (2020) 12 [image] In possession of: Lauren Powell: Eastleigh.
Figure. 10. Powell, L. (2020) Four [image] In possession of: Lauren Powell: Eastleigh.
Figure. 11. Powell, L. (2020) Six [image] In possession of: Lauren Powell: Eastleigh.
Figure. 12. Powell, L. (2020) Eight [image] In possession of: Lauren Powell: Eastleigh.